
Images: Ambient-Light Underwater Photography

Damien Mauric

Damien Mauric
Damien Mauric
Our Photo Expert: Damien Mauric was born in the south of France and fell in love with the sea at a young age. He admits to getting lost in the blues of the oceans, and hopes that by sharing his images he can help raise consciousness to protect our beautiful oceans and seas. To view more of his work, visit flickr.com photos/bigeyebubblefish.
Ambient-light photography isn’t technically challenging, though it might seem so. Done right, it gives underwater photographers a world of possibilities: the ability to capture scenes that are too large to be lit only with strobes; the ability to create blue-water backgrounds with a unique gradient of colors; and the ability to create images with strong contrast and eye-catching silhouettes. From a technical standpoint, good ambient-light photography begins with achieving the proper exposure that highlights either the desired color of your blue-water background or the details in your subject. To achieve great blue backgrounds, shoot manual and keep in mind that you control the amount of blue with the shutter speed.
Once you achieve the perfect color, it’s time to start thinking about your subject — to fill the frame and find the perfect composition. Your subject needs to have a recognizable shape like a diver, a wreck, schooling fish or a shark. If possible, isolate your subject from the reef. To create a contrasted silhouette with a darker subject, try to shoot with the sun at the back of your subject; or, if the sun is at your back, then the subject needs to be far enough away so you’re not “stealing” color from it. A silhouette has to be black or near black. If you’ve done it right, the resulting images are rewarding and might become the favorite shots in your library.
TIPS FOR ALL SKILL LEVELS
Beginner Tips
Keep It Simple: When attempting ambient-light photography, keep it simple. Look for an appropriate subject in shallow waters, and try to shoot when the sun is high in the sky to avoid a glaring sunburst in the frame. Work on adjusting your shutter speed and aperture in order to get the perfect exposure.
Intermediate Tips
White Balance Helps Make the Background Unique: Set your white balance manually to obtain your preferred blue-water background. I use a daylight white balance (5,500 kelvins) or a warmer temperature (4,750 kelvins) producing a cooler image and richer blues. A cooler temperature will produce blue backgrounds with a greenish tint.
Advanced Tips
Filters Add Color Back Into Your Ambient-Light Shots: The use of color-enhancing filters when shooting ambient-light imagery helps solve the technical shortcomings of getting color with your external strobes. Strobes can’t light up large subjects, but with a filter, you can hopefully enhance the color in an image over a wider area.
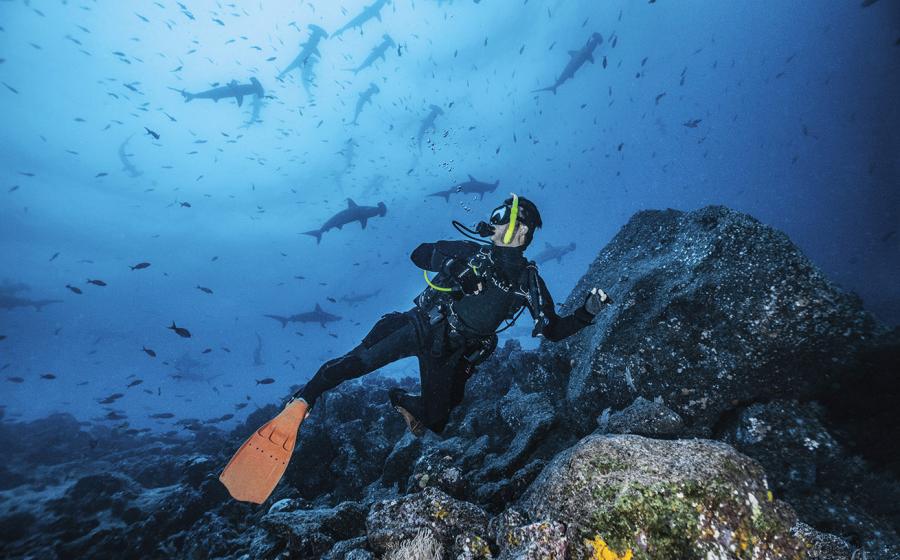
SHOOTING SCHOOLING FISH WITH AMBIENT LIGHT
Anticipate your shot: Make sure your exposure is correct and that you have a blue background. Don’t meter your exposure near the surface but in the middle of the water column for better hues.
Avoid shooting with the sun in your frame: In an instance where you can’t avoid it, hide the sun behind your subject. It will create a nice gradient of blue colors, and strengthen the shape and the contrast of your subject.
Shoot from below: Shoot toward the surface to have enough water behind your subject. It’s important to see the black silhouettes in a blue-water background, as it will add depth to your image.
Wait for the magic moment: Capture it when everything aligns, anticipate the movement of the schooling fishes, and wait for them to be in an ideal position. Schooling fishes can create amazing shapes, which can create stunning images.
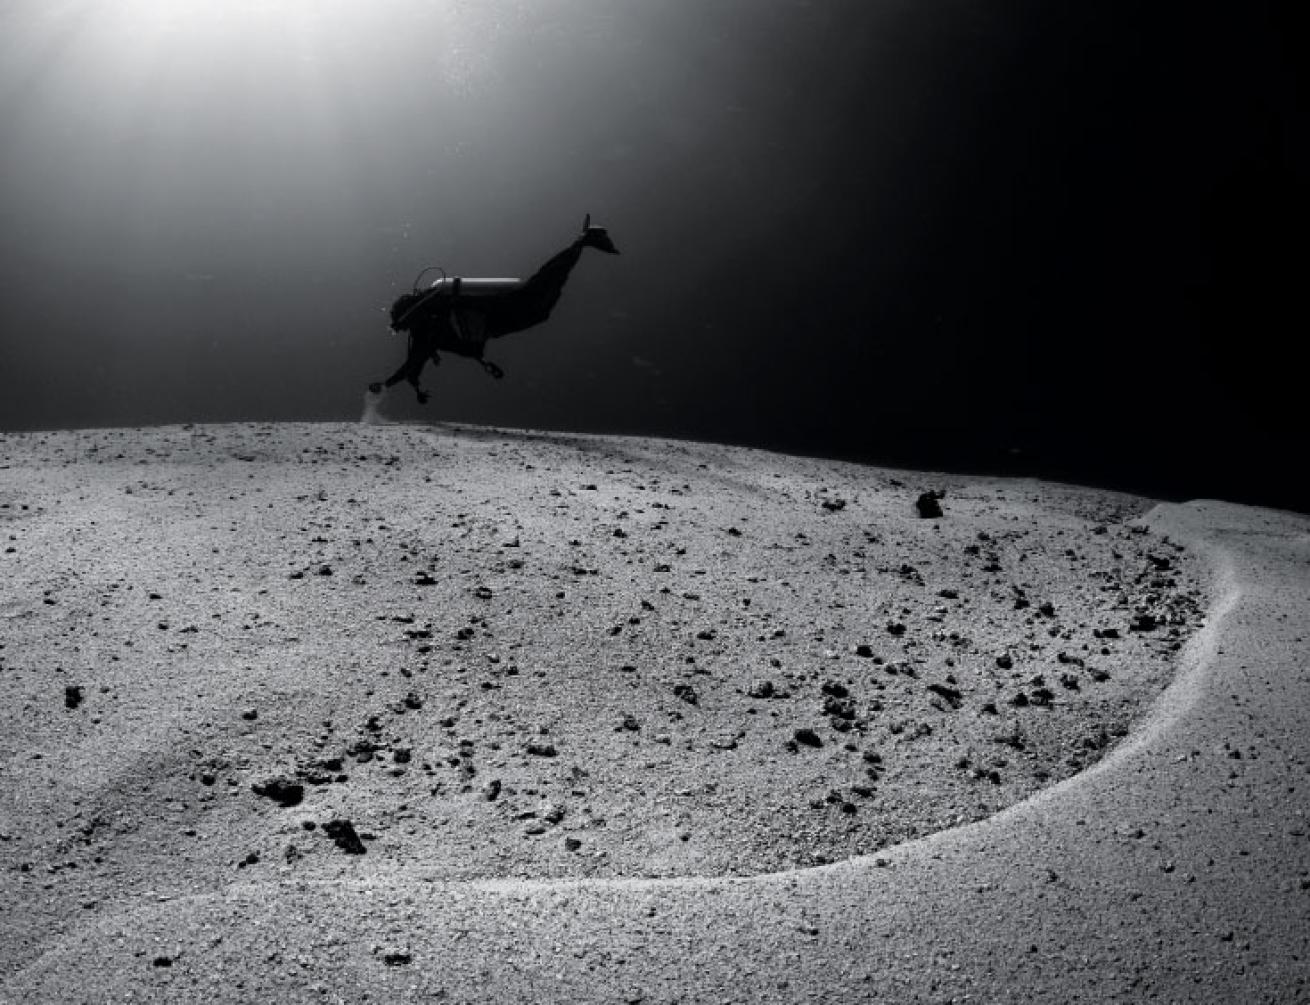
PHOTOSHOP TIP
The Better Black-and-White: Black-and-white photography is the perfect marriage for ambient-light underwater photography. For an even better black-and-white image, try a little post-processing magic with NIK Silver EFEX 2.0. Utilizing a cool suite of darkroom-inspired features and moody presets, it’s a fun Photoshop plug-in that will enhance or even create stunning black-and-white images you’ll be proud to keep in your portfolio. Contact niksoftware.com