
How to Care for Your Underwater Camera Housing
Brent Durand
Underwater photo equipment, like most dive equipment, needs to be regularly maintained to prevent accidents and keep it working like new.
Over the years, I’ve seen all sides of maintenance and lack thereof, from old gear that looks like it crawled out of the ocean yet works perfectly, to new gear with jammed buttons, and surprise floods through bulkheads that haven’t been opened in years. The consistent theme for all the gear working perfectly is diligent maintenance.
Related Reading: 3 Advanced Underwater Photo Composition Tips to Master
Underwater housing maintenance falls into two categories: predive and post-dive.
Before the Dive
Predive housing maintenance aims to ensure the system will not flood and is working correctly.
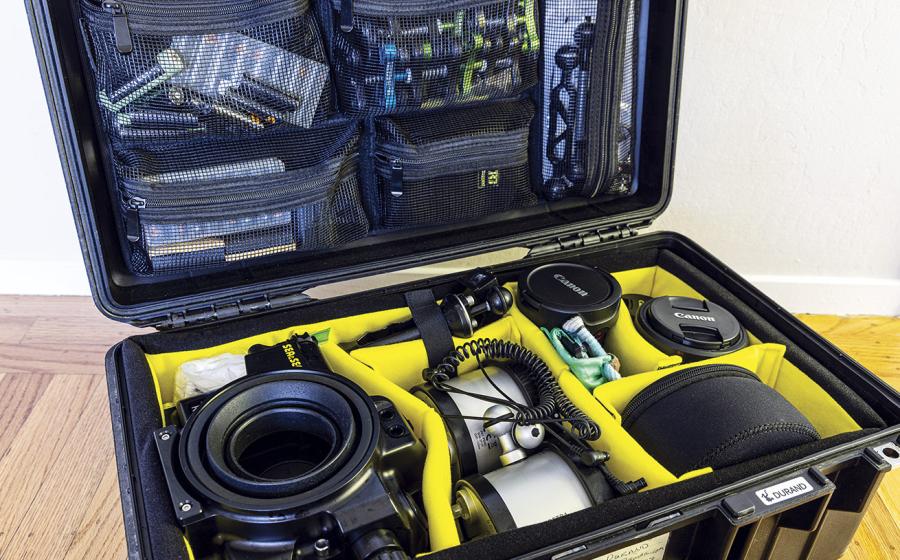
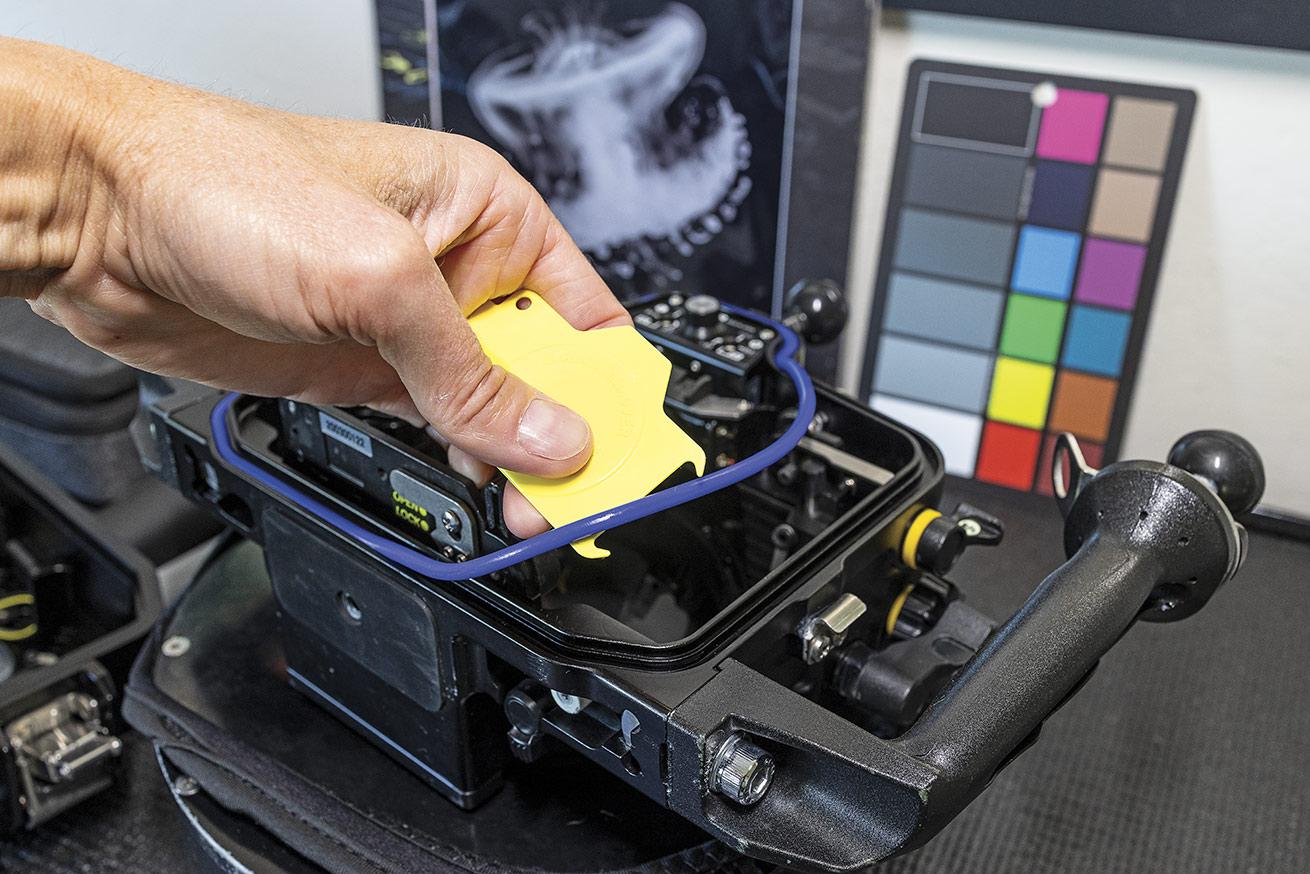
The first step is inspecting O-rings, the grooves where they sit and the surface they contact when sealing the housing. I like to remove critical O-rings and lightly apply O-ring grease. In doing this, I ensure there is no sand, eyelashes, lint or other debris on the O-ring. The fresh layer of grease also reduces friction that could lead to pinches when closing the housing. I clean the O-ring groove with a high-quality paper towel or microfiber cloth that doesn’t leave any lint and then carefully reinstall the O-ring before closing the housing.
At this point, you can activate your vacuum alarm and fire a test shot. During the test shot, make sure you test auto focus—as sometimes you can bump a lens into manual focus—and fire your strobes or turn on each video light.
Every seasoned photographer knows that if you skip the test shot you will eventually find yourself underwater dealing with a silly mistake.
After the Dive
Post-dive maintenance is critical to ensure your housing continues to work like new long after you take it out of its packaging. Without proper upkeep, you will find that your buttons will seize up.
The best practice is to immediately dunk your housing in fresh water after each dive and press all the buttons several times, ensuring your camera is off to avoid changing settings by accident. Turn the knobs and press the levers if you have them. This flushes out the salt water. At this point, the housing can sit in the rinse tank, or better yet, it can be removed to prevent scratches from other cameras.
Next, blow some air behind any metal buttons. You’ll learn very quickly which buttons hide water behind them. This helps the area behind the buttons to dry and greatly reduces material buildup that will eventually affect button function. You can blow air with your mouth or carefully with air guns provided by some dive resorts.
Related Reading: 3 Underwater Photo Skills You Should Master
Be sure to towel dry any glass or acrylic surfaces so that water spots don’t form. Always keep your dome port covers on until it’s safe to remove them and let the surfaces dry.
Finally, all housings for compact and mirrorless cameras should have periodic professional service. Ask your local underwater camera retailer for their service interval recommendations.