
Must-Have Photo Tool: The Snoot
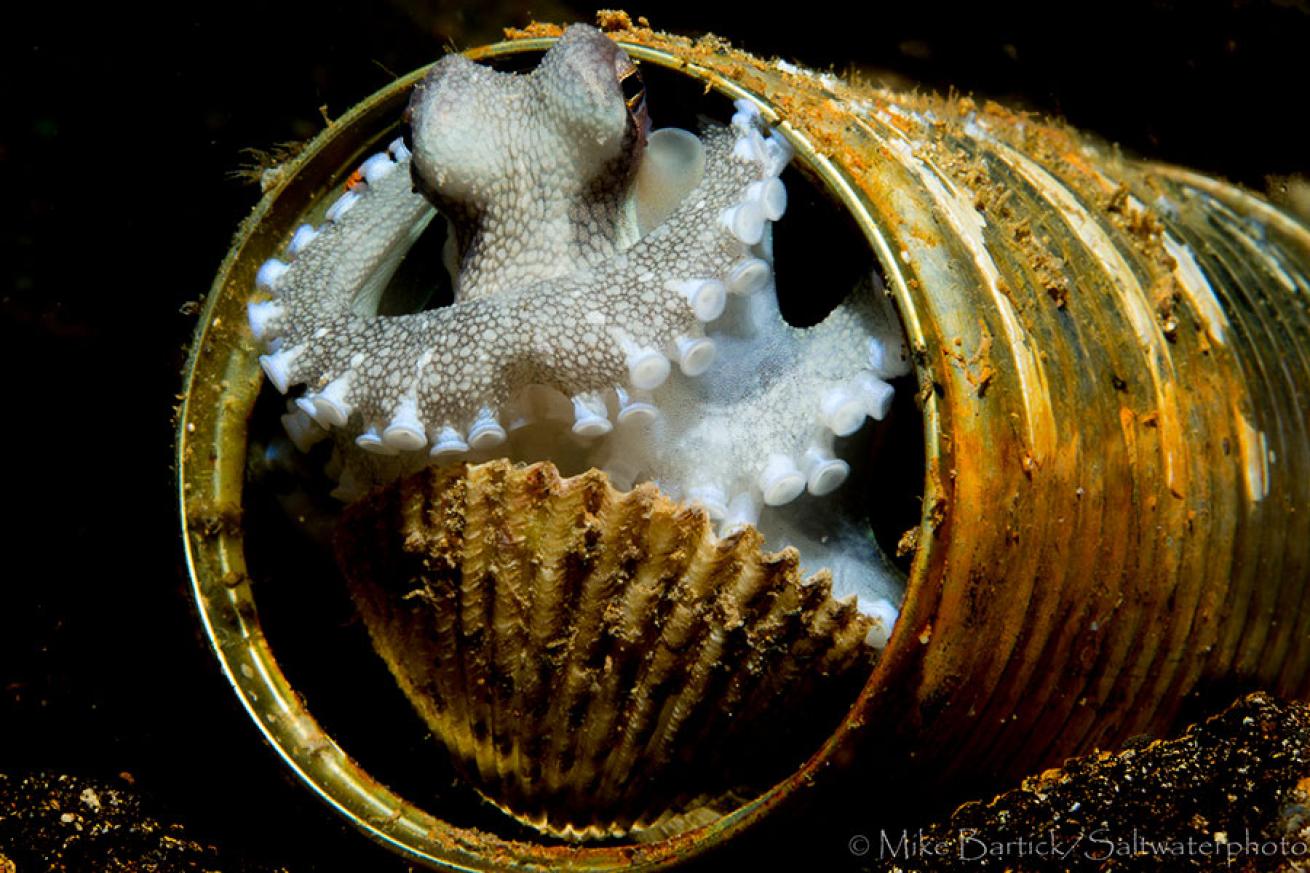
Mike BartickA small but curious coconut octopus (Amphioctopus marginatus) watches me carefully from its refuge. I’ve illuminated the makeshift home of this tiny octopus by using a standard strobe flash.
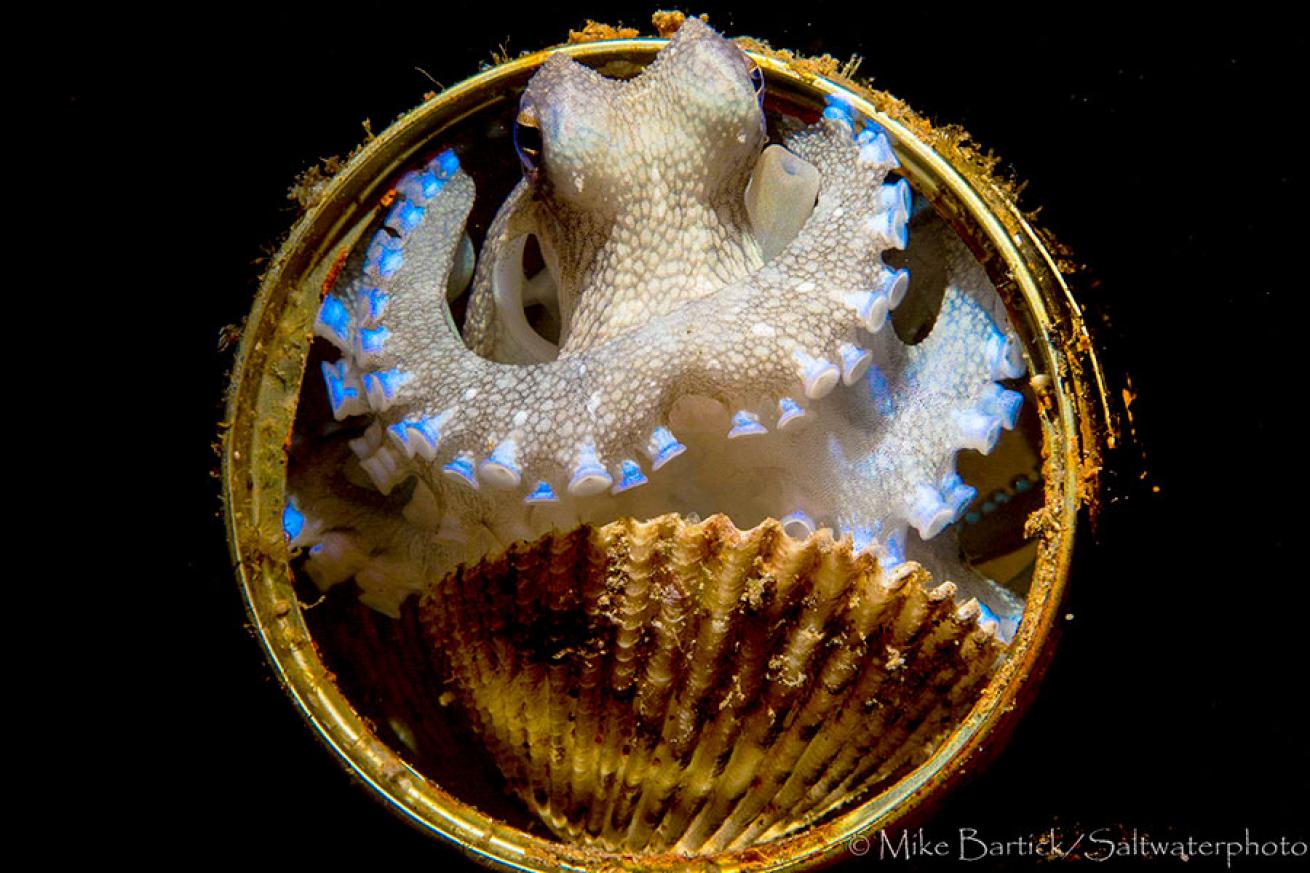
Mike BartickUsing my snoot, I was able to eliminate everything I didn’t want and highlight the most important feature: the octopus framed by the round can. By articulating the snoot arm, I was brought the light source exactly where I wanted it, directing and cutting off the light in the background.
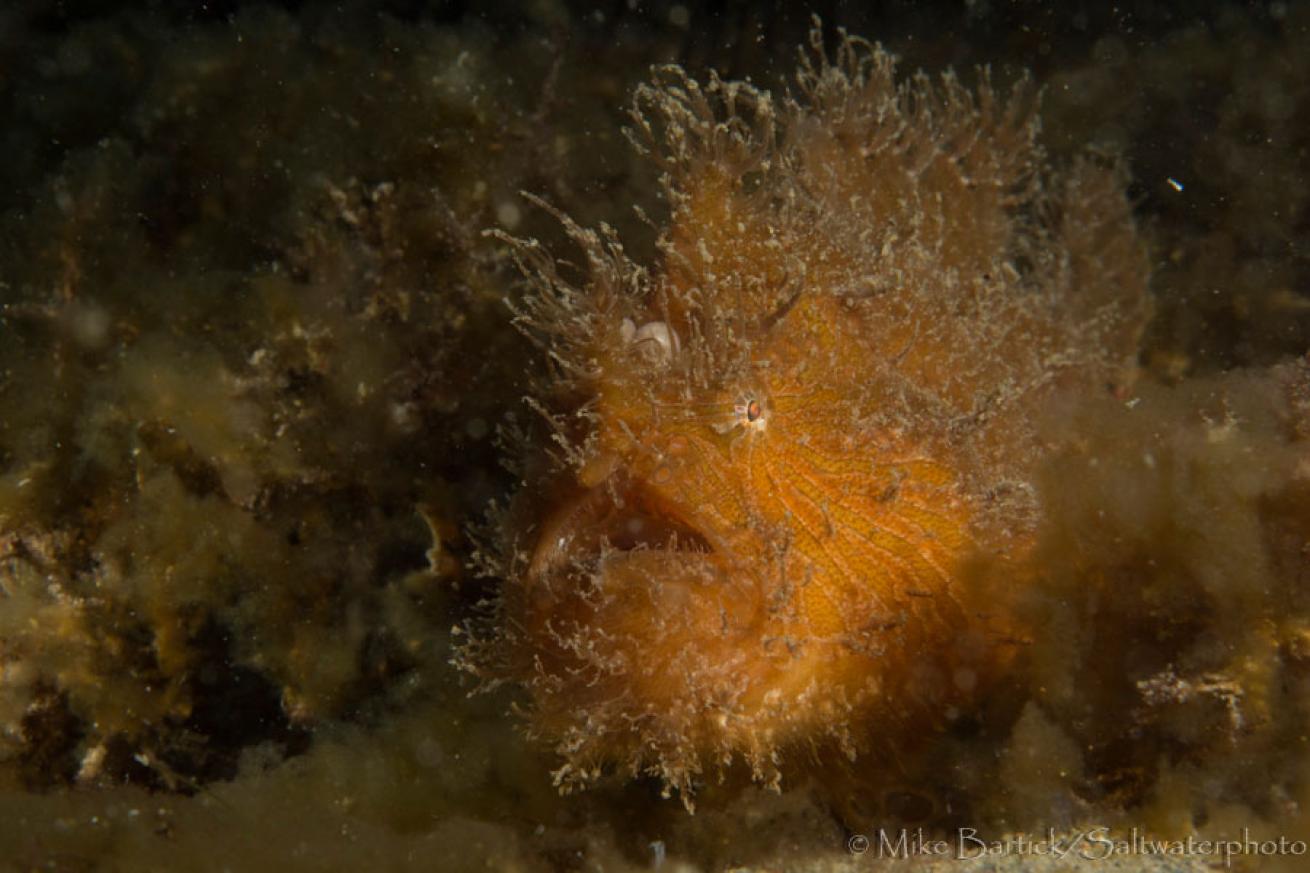
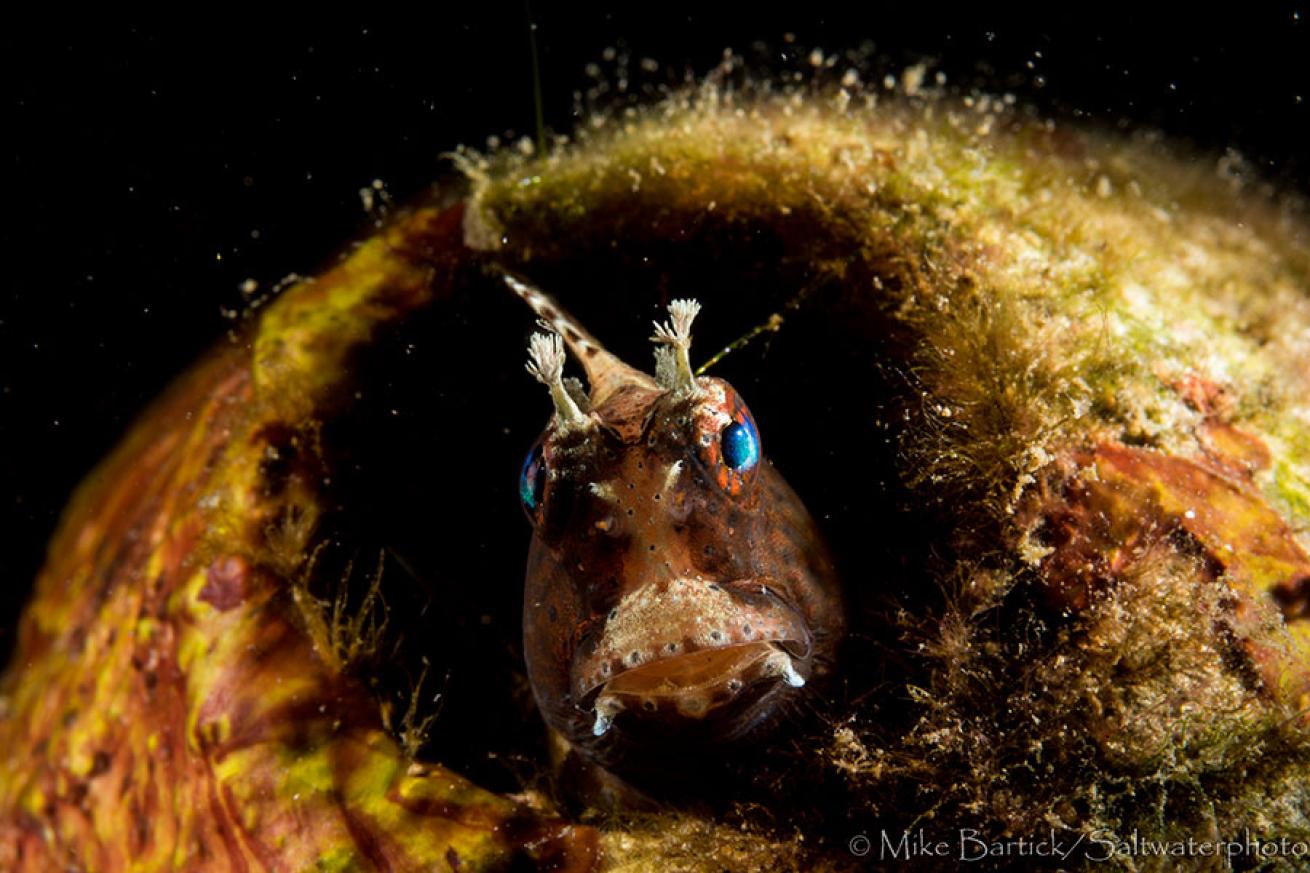
Mike BartickEven the most interesting subjects, like hairy frogfish (A. striatus), can become lost when photographed in their natural habitat. Trying to separate the subject from the algae is difficult at best and the photos can become mundane. The lighting from the snoot introduces another resource for a photographer.
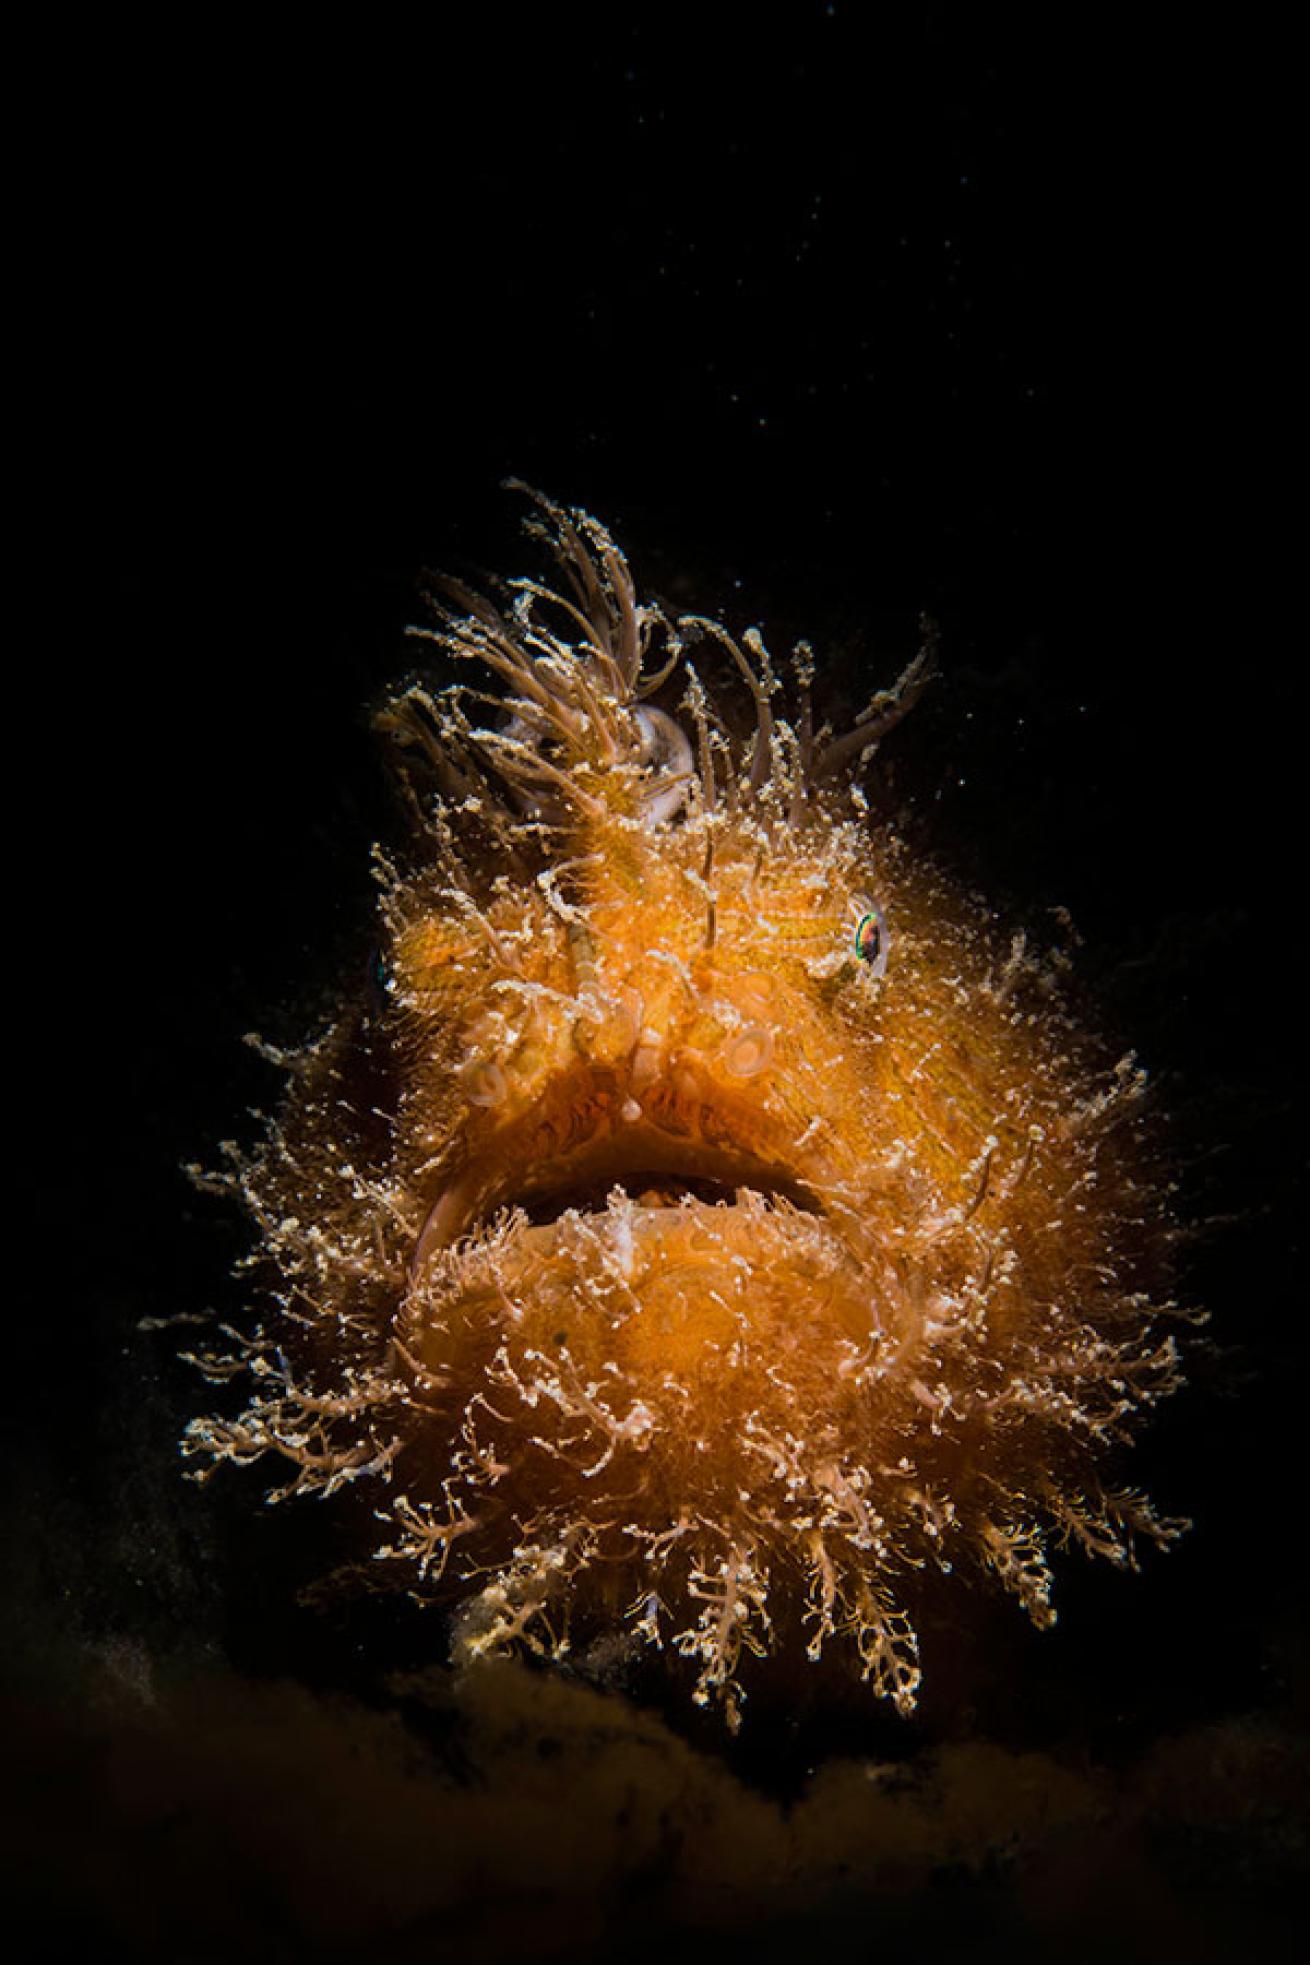
Mike BartickThe snoot quickly changes the entire image from a boring portrait to something a bit more interesting. Again, framing the subject — or a portion of the subject — to highlight specific features helps create an image that stands out from the norm. The distance from snoot tip to the subject makes a big difference in terms of radius of the light beam and contrast of light, so consider this ratio closely when using a snoot.
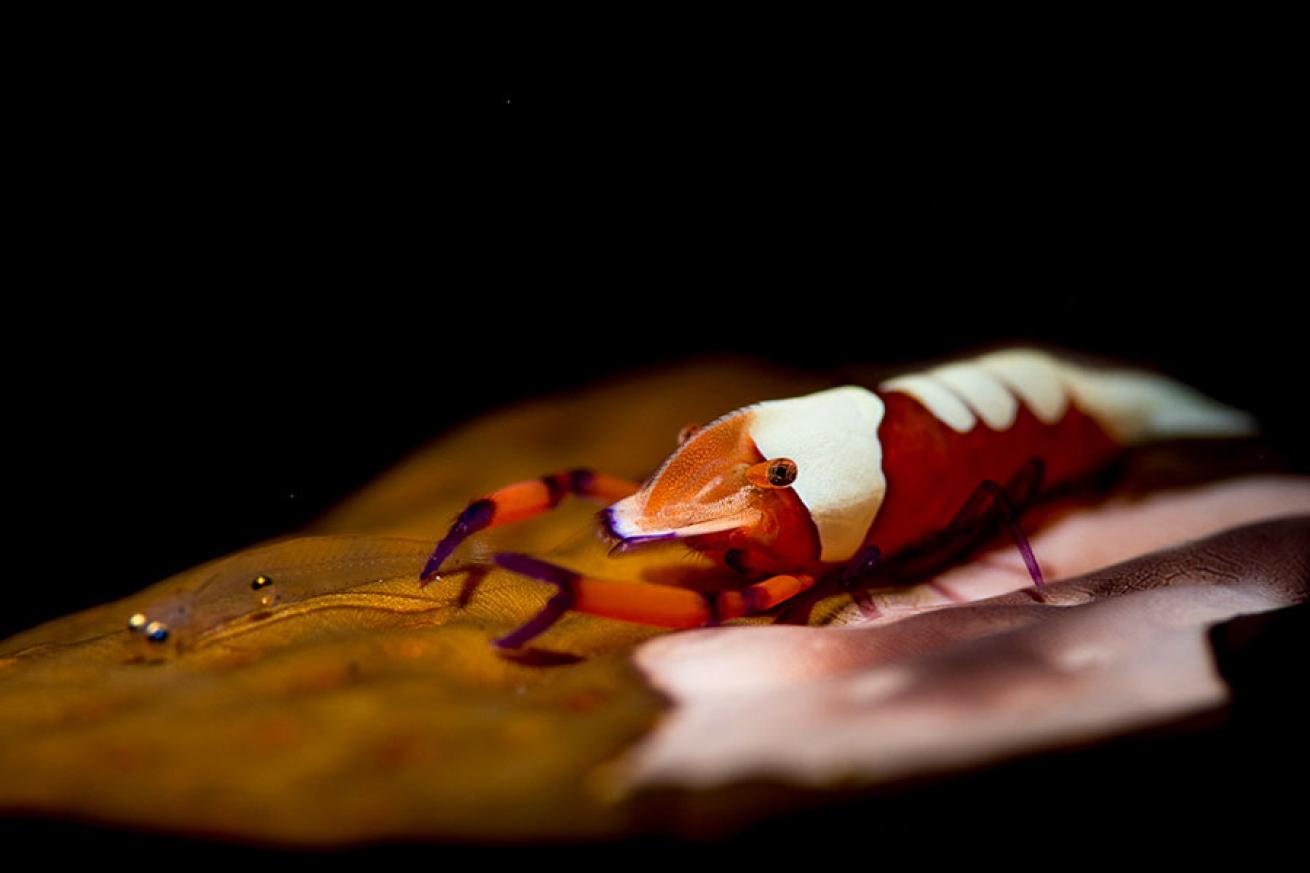
Mike BartickAn emperor shrimp (Periclimenes imperator) captures a ghost goby while it forages on the shrimp’s sea-cucumber host. Using a smaller tip and keeping the snoot close to your subject controls over-lighting and frames the subject with negative space. This was no doubt a lucky shot, but having the proper lighting brings it up another level.
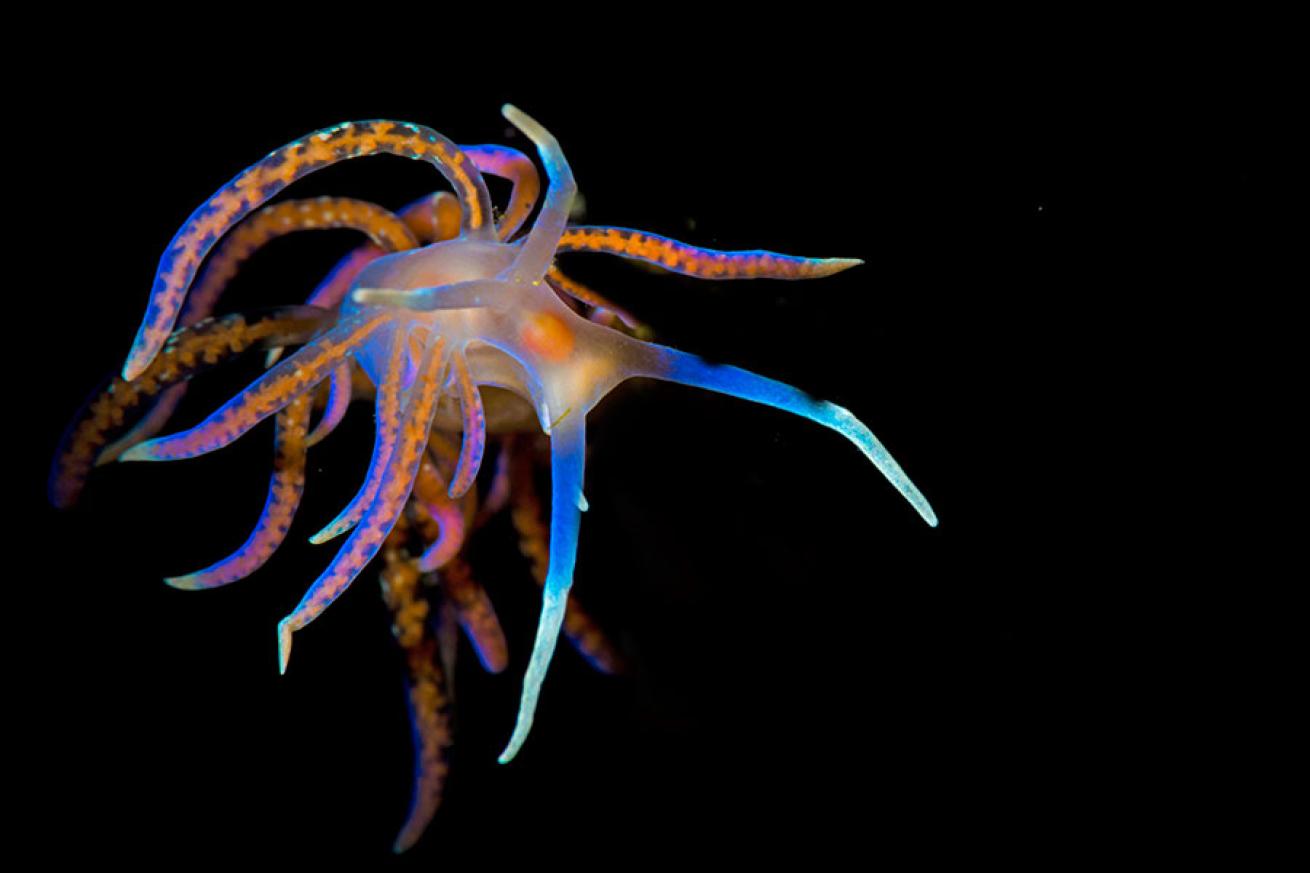
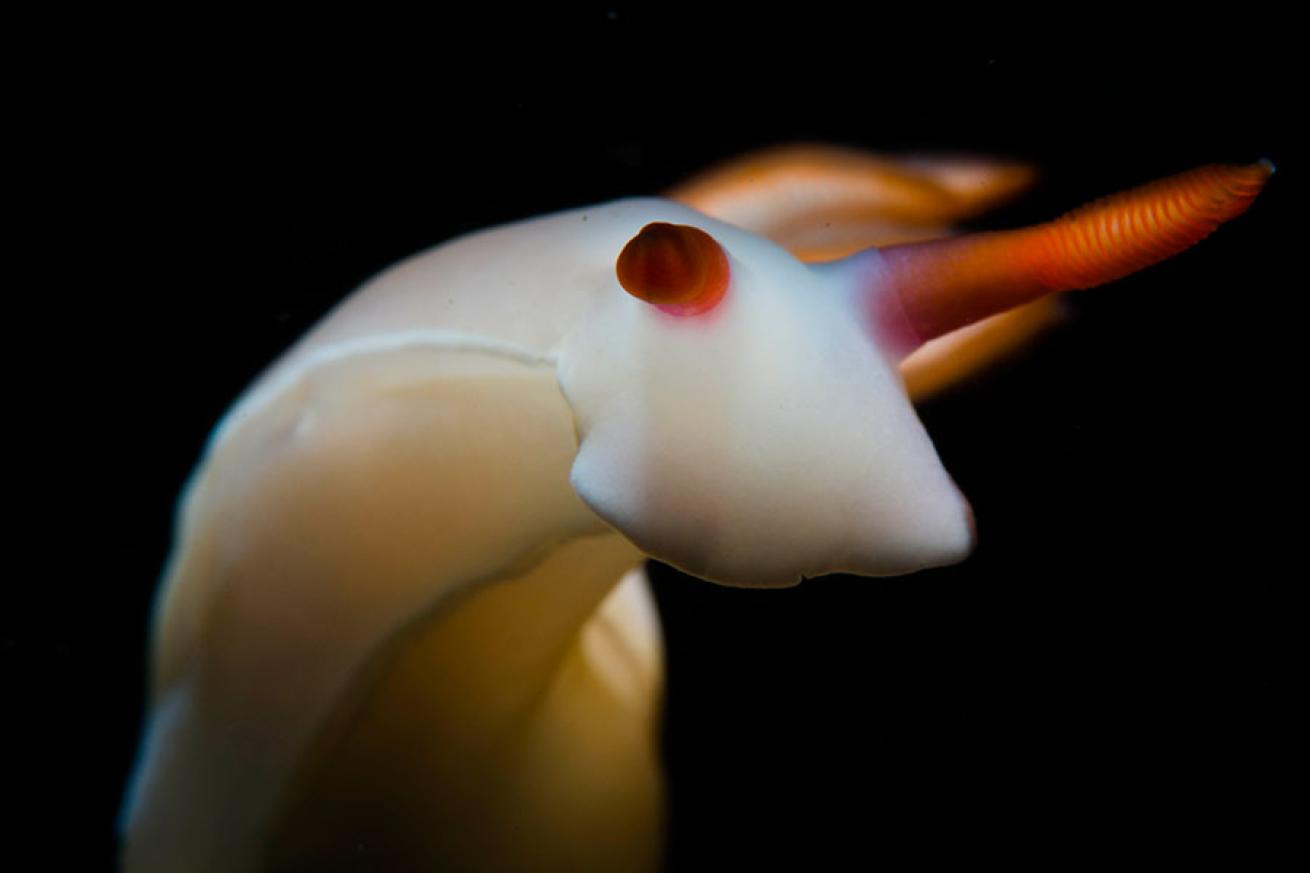
Mike BartickI strive for a glow when shooting images of nudibranchs and other translucent subjects by using the soft, directional light of an articulating snoot. Using standard strobe lighting and strobe angle can create a similar glowing effect, but by using the snoot, the light seems to uniquely compliment the nudibranch’s natural beauty, creating a more artistic image.
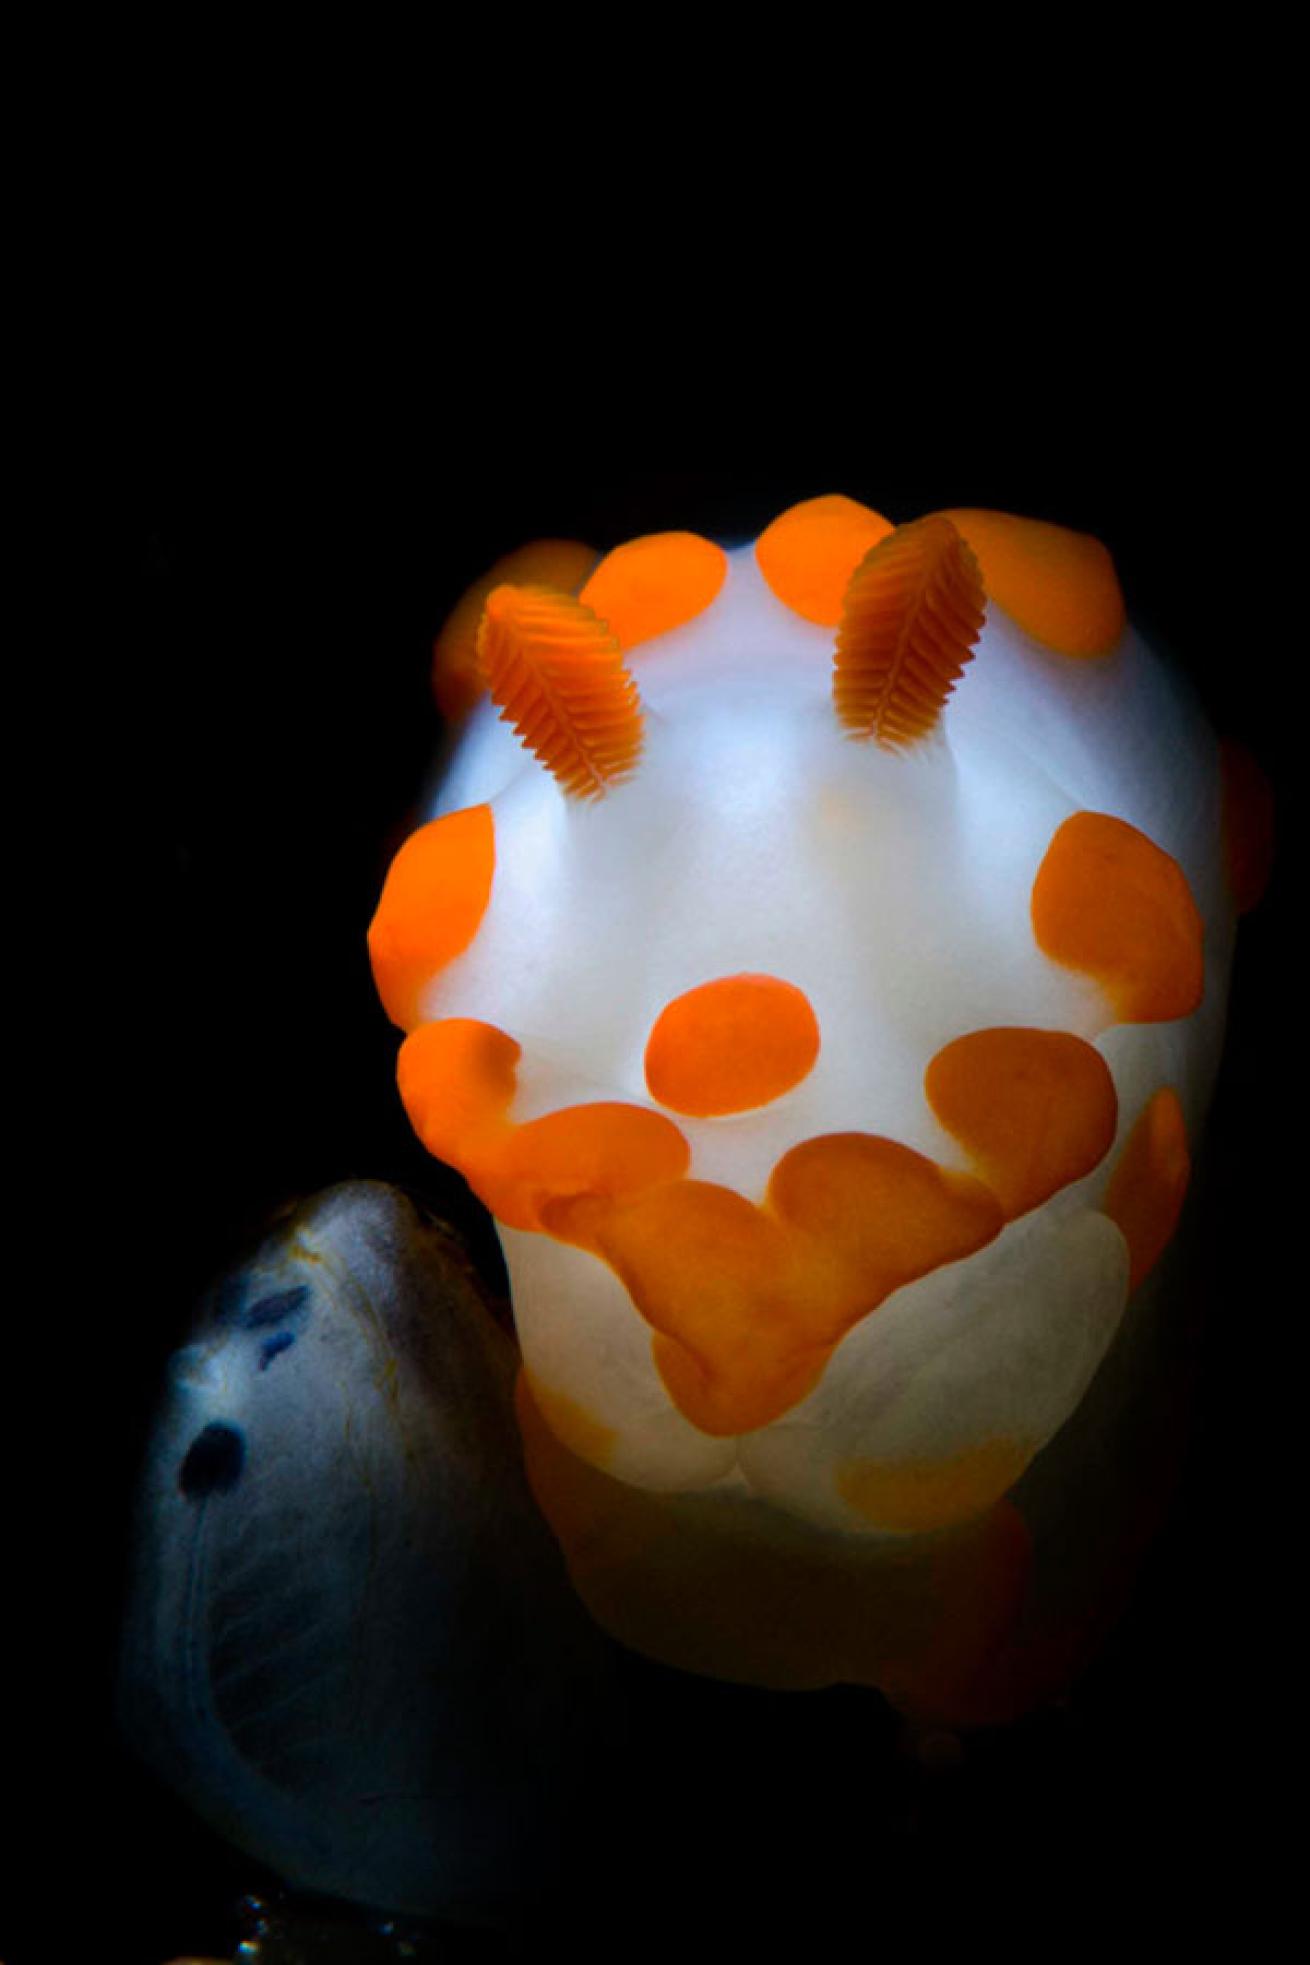
Mike BartickThe Gymnodoris nudibranchs have a naturally teardrop shaped notum. By using the smaller snoot tip, I was able to isolate this key feature to direct the viewer’s eye.
Mike BartickA creamy colored H. bullocki moves back and forth as it travels along the reef. Anticipating your subject’s movement, positioning your light source, and then waiting for the subject to move into the frame is another useful and less intrusive technique for creating something special.
Mike BartickUsing a snoot soon becomes like second nature. I keep my snoot attached to my left strobe to help me use it whenever I can, and to make quick adjustment without removing my hand from the shutter trigger.
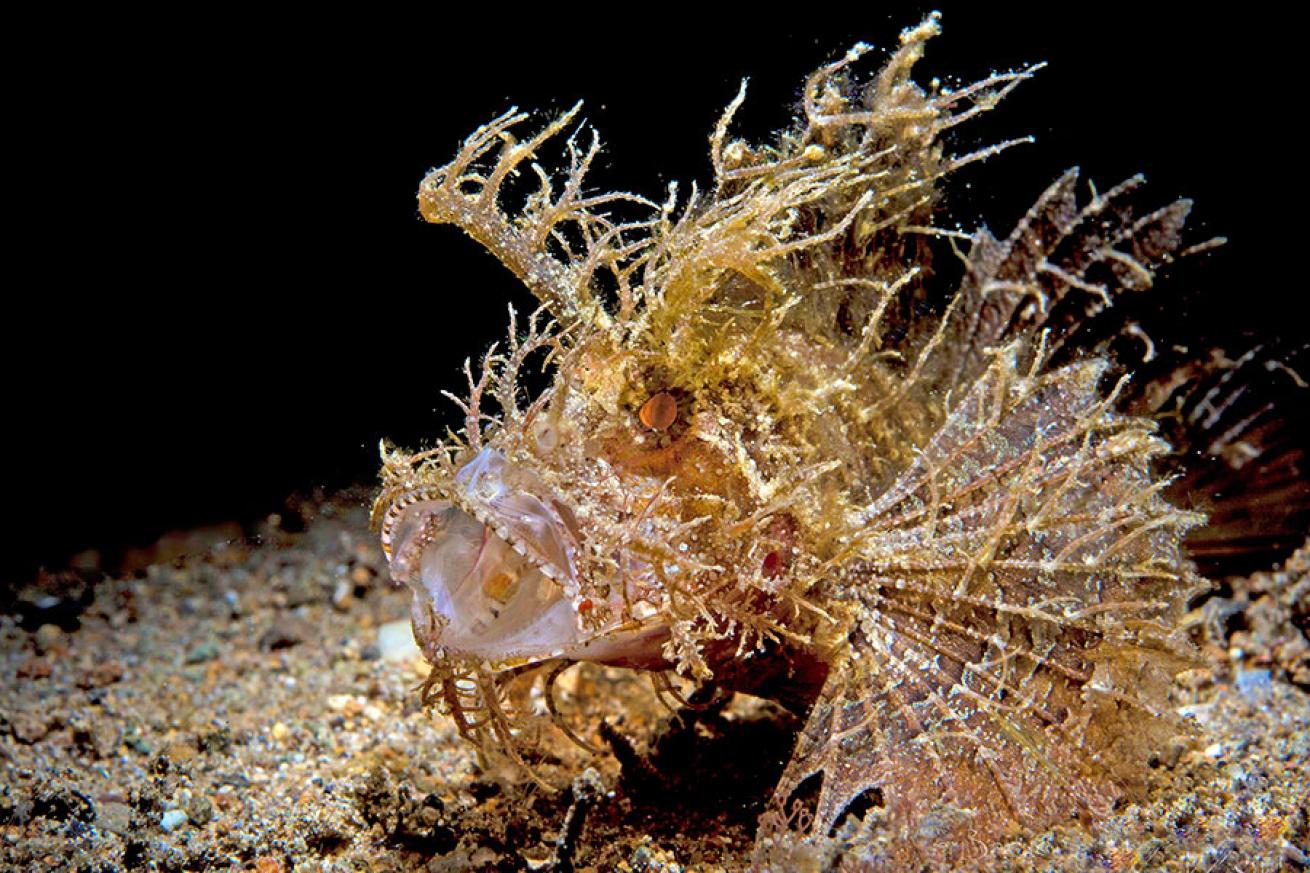
Mike BartickI discovered a surprising benefit of using my snoot while shooting a smaller Ambon scorpionfish (Pteroidichthy amboinensis). In the past, I’ve struggled with creatively lighting Ambons and other filamentous critters. Cryptic subjects blend in well with sand and algae and it’s difficult to separate them from that element in an image.
Lighting is everything when it comes to photography, and shooting underwater often requires the photographer to read the ambient light and to create durable images on the fly. Unlike terrestrial photographers, underwater photographers don’t have the luxury of time or a studio full of equipment to help design their images, so many underwater photographers, myself included, have explored other, more portable methods of assistance.
Adding a snoot to your arsenal will give you some options for lighting that just don’t exist otherwise. Snoots will help you to create more dramatic compositions and cut down on backscatter, as well as help you create negative space and gain total control of the direction of light and how the light source plays out in an image.
So what exactly is a snoot? It’s a nifty device that fits over a strobe head that controls the direction and size of the strobe flash beam. The beam’s area is controlled by a variety of means depending on the brand of snoot, and can range from a broad ray of light to a narrow, more laser-like, surgical tool.
There are many different brands of snoots to choose from; my snoot of choice is the Reefnet Optical snoot, which is basically an articulating arm with fiber-optic lines on the inside. The base plate screws down tightly over the strobe head and does not fall off when adjusted. The snoot base includes one arm, but it has dual bulkheads for two arms and each of these includes two interchangeable tip sizes, which can be easily changed underwater. The Reefnet device lacks an aiming light to help find the subject — which makes it tough at first — but your subject won’t turn its head away, either.
I strongly recommend starting with the single arm and larger tip, then, as your patience and skill level develops, add the additional arm and try the smaller tips. The smaller snoot tip provides a tighter radius of light, which increases the level of difficulty but also adds a bit more drama to your images.
Often times, snoots are used off-camera; they’re hand-held, pointed by an assistant, or mounted on a tripod. While all of these options work, I prefer a more organic approach. I like to mount the device on a camera and use a long, articulating arm for greater reach and control from behind my camera, which enables me to limit the task load and allows for quick and accurate changes to both my camera settings and to the snoot position.
Control the flash beam with the height of the tip in relation to the subject; the closer the optic tip is to the subject, the narrower and more intense is the beam. Elevating the tip from the subject both broadens and softens the beam.
Shutter speeds, f-stops, lens choices and distance from the subject all come into play as well, as the decisions on how to light your subjects will change the dynamics of each image. Pay close attention to the details as you can easily overexpose the highlights when the tip and light source are too close to your subject. When shooting in bright, shallow, daylight conditions, using higher shutter speed will decrease the ambient light almost completely, which allows for rich strobe saturation. Using a snoot will further eliminate the ambient light.
In summary, here are a few tips that might help when you’re attempting to use a snoot, with or without a focus light for aiming.
-Get to know your lens and working distance
-Compose your shot, then articulate the snooted strobe head for lighting
-Make small corrections and movements
-Try using the snoot at home before taking it underwater
-Use the larger tip first
-Sedentary objects and critters make the best models
-Change from landscape to portrait
-Higher shutter speeds help to decrease the ambient light
-Your light source’s distance from the subject will soften and widen the beam
I rarely dive without a snoot these days, especially when using my 60mm macro lens. When I set up my system I put the snoot onto my left strobe, or use the cold-shoe mount on the top of my housing.
It’s important that I dedicate my left hand to making adjustments to the snoot while my right hand is on the camera controls. Preparing my camera this way allows me to be quick, to retain the organic feeling while shooting, and to even capture spontaneous behaviors.
Lighting is everything in underwater photography, and a snoot can be a powerful ally in getting it just right. The changes it makes, in either simple or complex subjects, will only improve your portfolio, and as your skill level and confidence grows so too will your subjects and shot selections.