Scuba 911
We are fortunate to enjoy a sport with one of the lowest accident rates around, but let's face facts--the inherent risks of diving mean dive accidents are often serious. And when things go south, they go south fast. A quick, cool and effective response is often the difference between a close call and serious injury or worse.
Which raises the question: How prepared are you to handle a dive emergency? What about your buddy?
There are no cookie-cutter solutions to all possible situations. It's important to act quickly, but even more important to think clearly before acting. Here are five fundamental steps every diver should know.
Get Rescue-Certified
Rodale's Scuba Diving, along with most major training agencies, recommends rescue certification as an essential course for every serious diver. Only by mastering a rescue course can divers be fully equipped to recognize, prevent and deal with accidents.
What You'll Learn. The course will cover the rescue techniques discussed here and many more, including subjects like giving oxygen and managing an accident scene. More important, it will give you in-water practice rescuing simulated "victims," so you'll have a chance to internalize your lessons. In a real emergency, you're more likely to remember what you've done than what you've read.
What's Required. Prerequisites vary, but often you'll be required to take a CPR course before or concurrently with your rescue course. Some agencies require an advanced open water rating before taking the rescue course, others do not.
What It's Worth. Beyond learning specific rescue techniques, you'll become more attuned to the signs of stress in other divers and gain confidence in your ability not only to rescue others, but to rescue yourself.
Step 1: Get Air
Make sure the victim has a secure air supply. If the victim can't breathe, brain damage will probably occur within six to 10 minutes. Less obvious is the need to prevent panic. Says SSI's Director of Training Dennis Pulley, "No matter who you are or how long you've been diving, if you don't have an air supply panic is going to set in. It's human nature." Once the victim's air supply is secure, both of you should take a minute to breathe and calm down.
Maintaining the victim's air supply remains the most crucial step now and throughout the rescue. Don't become so absorbed in the subsequent steps, like signaling for help and towing, that you forget to guard his airway from splashing and submerging.
Effective Techniques
-
Under water, locate your alternate air source as you approach the victim and be prepared to offer it or the primary, whichever you prefer. If his air supply is not the problem, you can go on to Step Two having prevented the major source of panic.
-
On the surface, roll the victim on his back with his head tilted back, to keep his airway open.
Potential Problems
-
You see a diver lying on the bottom, apparently not breathing. What do you do? If his regulator is still in his mouth, hold it there with your hand. If it's not, don't waste time fumbling with it. It's more important to get to the surface quickly.
-
If you see a diver under water without an air source and in panic, the good news is that he's conscious and able to breathe. The danger is that he may grab your air supply. Approach the victim with the air source you're going to pass held in front of you so it's the first thing he can grab. If he ignores the one offered and still grabs your primary, your alternate source is in your hand ready for you to use.
Step 2: Get to the Surface
Get the victim to the surface immediately. But don't forget the risks of ascending too quickly. You don't want to complicate a near drowning with a double embolism.
How fast you ascend depends on the circumstances. In a straightforward low-air emergency, ascend at a normal rate. Just be sure you have enough air for both divers. But if the victim is unconscious, ascend with him as fast as you dare while remembering to keep your airway open.
Effective Techniques
-
Get the victim neutral or slightly buoyant. Get neutral yourself, then use the victim's BC to lift both of you. That way, if you have to let go, he will continue to ascend. Conserve your energy by using his buoyancy to ascend rather than finning.
-
Maintain contact by holding his armpit or his BC, and watch that he continues to breathe. If he's panicky, hold him from behind by the tank where you can inflate or vent his BC and, if necessary, keep his regulator in his mouth.
-
Keeping his head upright may help expanding air vent naturally if he's unconscious.
-
Drop his weights only if you need to--for example, because he's seriously overweighted or his BC won't inflate. Otherwise, dropping his weights will make the ascent rate difficult to control.
-
Keep your own weights. That way you can sink beneath him if he makes a panicky grab for you. Or, if you lose control, you can still become neutral.
Potential Problems
-
You are helping a victim ascend when he stops making bubbles, indicating he has stopped breathing. What do you do? You have to balance the risks of embolism and oxygen starvation. Is he holding his breath because of panic, or is he unconscious? One clue: is he struggling for the surface or limp? If panic causes him to hold his breath, he is physically able to breathe. Try to slow or stop the ascent by flaring while you hold on. Very soon he'll have to take another breath. If he's unconscious, however, it's critical to get him to the surface quickly. In this case, it may be best to drop his weights, inflate his BC and send him up alone while you follow at a safer rate.
-
Your buddy suddenly bolts for the surface. What do you do? If you can immediately grab his leg or his BC you may be able to flare while holding on and slow him enough to prevent embolism or DCS. Otherwise, let him go and follow at a safe ascent rate. Your first duty is to stay healthy yourself so you can help him at the surface.
Step 3: Get Buoyant
Once you reach the surface, establish positive buoyancy for the victim. Be ready to help him put more air into his BC and dump his weights. Obviously, it's time to drop the game bag and the brass porthole, too.
Effective Techniques
- Roll him onto his back with his head tilted back. This gets his face as high as possible so water is less likely to splash into his airway. It also allows him to rest without treading water.
Potential Problems
- A panicky diver on the surface flails the water wildly with his arms as if trying to climb out of the water. What do you do? He is likely to climb on you to get out of the water. Keep your distance and use your voice to try to calm him. Anxiety is contagious, so speak slowly and calmly: "It's OK, I can help you. Inflate your BC. Drop your weights." Encourage him to breathe through his regulator.
If he fails to respond and is swallowing water, you may have to drop his weights for him. Submerge, and approach him from below. He will be less likely to interfere.
- A diver on the surface is not breathing. What do you do? Mouth-to-mouth is very difficult to perform in the water. Whether you attempt it depends on how often you've practiced it and how long it will take to get the victim out of the water. If the boat, or the shore, is more than a few minutes away, at least try giving two rescue breaths. Roll the victim's head toward you instead of trying to climb on top of him. Let some air out of both BCs. Too much air will make it harder to get your mouth in the right position.
Step 4: Get Help
Before starting to swim for the dive boat or the shore, take a few seconds to attract help. The dive boat or its dinghy may be able to come to you, or another swimmer may meet you halfway to help with the tow. Meanwhile, others can be setting up the first-aid and oxygen kits.
Effective Techniques
- Blow a whistle or a horn, shout, inflate your sausage, wave a fin. As soon as you've attracted attention, proceed to Step Five.
Step 5: Get Out
Get the victim out of the water. You will need to get the victim to the boat or the beach to perform any effective first aid. CPR, for example, cannot be performed in the water. That probably means towing the victim, either by pushing or pulling, though he may be able to help.
Effective Techniques
-
Tell the victim what you're going to do ("I'm going to help you swim back to the boat"). Start propelling the victim by the method that seems best under the circumstances. This will be slow and tiring, so pace yourself. If you become exhausted and require rescue yourself, that will increase the danger to the victim.
-
Keep an eye on the victim's air supply. If he's breathing through his regulator, make sure that it stays in his mouth and that he has enough air. If he's breathing without a regulator or snorkel, make sure he's not taking water into his mouth.
Potential Problems
-
What if the beach is much closer than the dive boat? The beach may be a better bet, especially if the victim needs CPR immediately. You can begin CPR there while other divers bring first-aid equipment from the dive boat. But if there's any surf or rocks, it may be difficult to get the victim ashore safely.
-
How do you lift an unconscious or helpless victim onto the dive boat? This can be very difficult, even for several people. It can be hard to grab him when his arms are limp. Divers are often told to dump all the victim's gear at this point to make him lighter. But the tank valve and BC offer convenient handholds. If there are two or more strong helpers on the boat, it may be best to leave the victim's BC on. In any case, remember to guard the victim's airway while getting ready to lift him from the water.
Towing the Victim
In all cases, the victim should be on his back with lots of buoyancy to keep his face out of the water. Drop accessories that will cause drag.
|||
|---|---|
|

|
Side-By-Side Tow
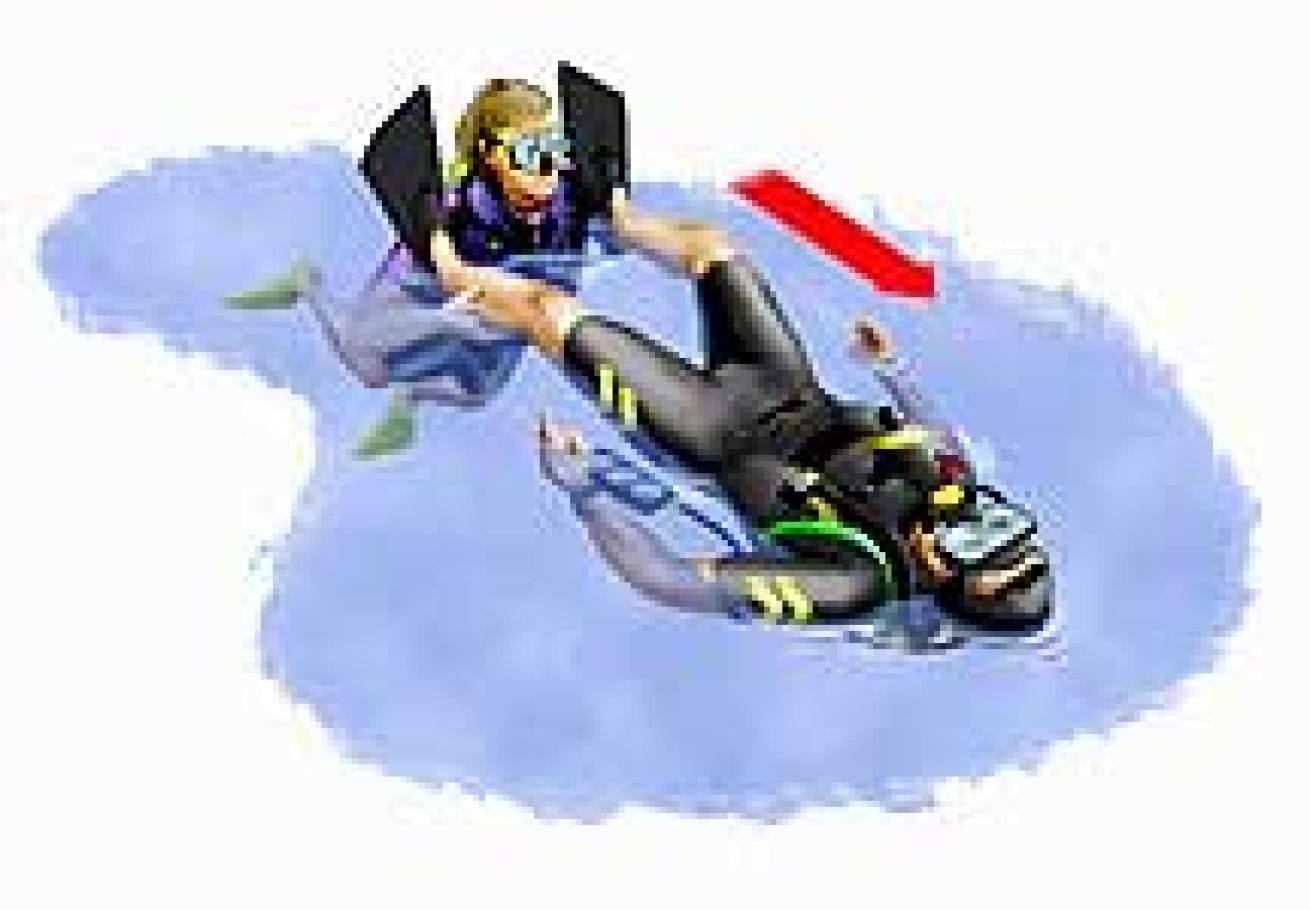
Also called an underarm tow because you grab his biceps or underarm. You'll turn partly on your side facing him, and you may have to use a scissors kick, which is not very efficient. But you'll be able to see his face and monitor his airway. And the physical contact is often calming.
||
|---|
|

|
Leg Push
Also called a "modified tired swimmer tow." Lying on your stomach, you put the victim's fins on your shoulders and grab his knees to stiffen his legs. This allows you to watch his face, see where you're going and use a normal kick. Over a long distance, it is more efficient than the side-by-side tow.
||
|---|
|

|
Tank Tow
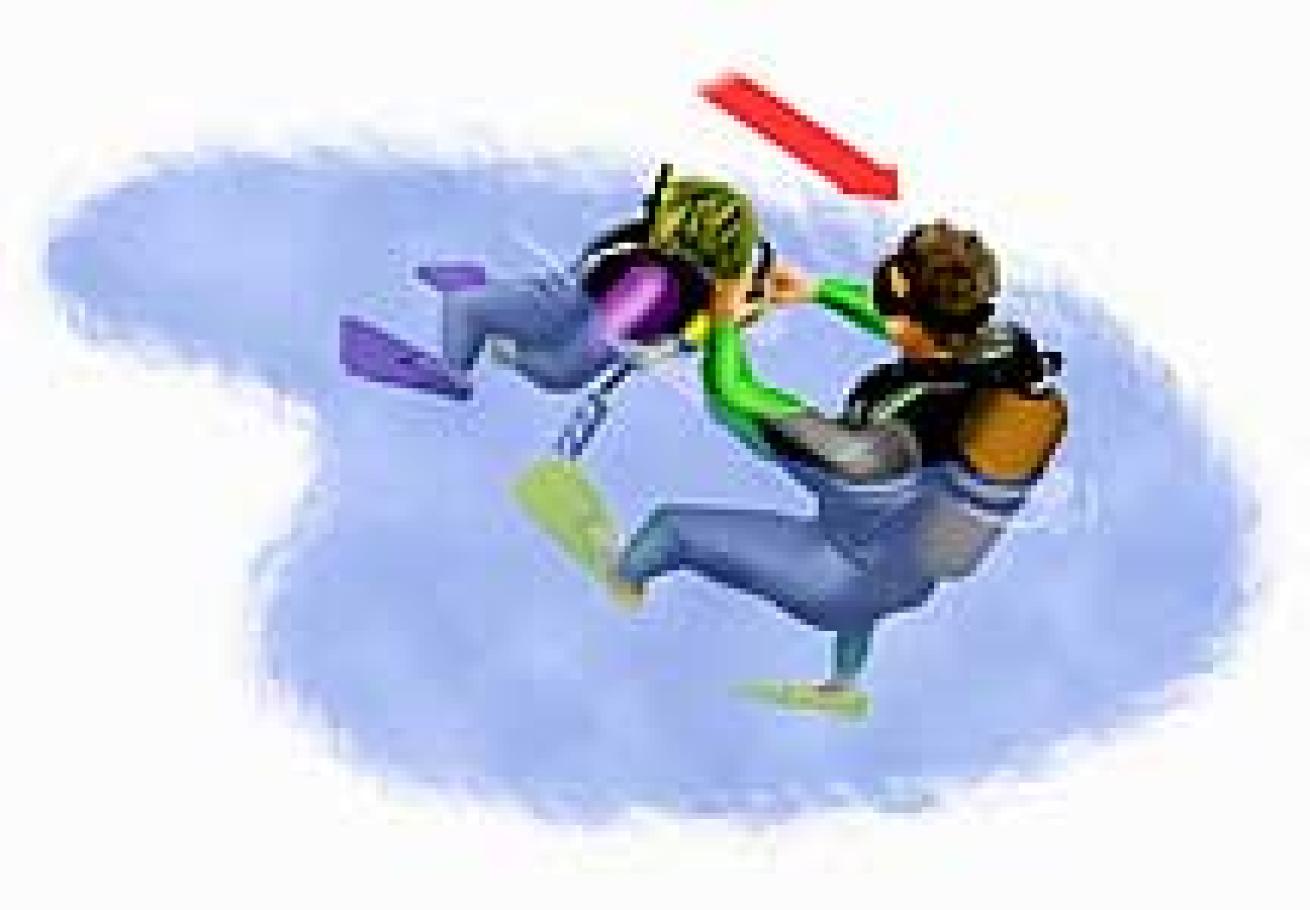
Lying on your back behind the victim, grab his tank valve or his BC and kick normally. Your kick will be strong and efficient if you can avoid hitting the victim with your fins. The disadvantage is that you can't simultaneously maintain eye contact with him and see where you're going.
||
|---|
|

|
Equipment Tow
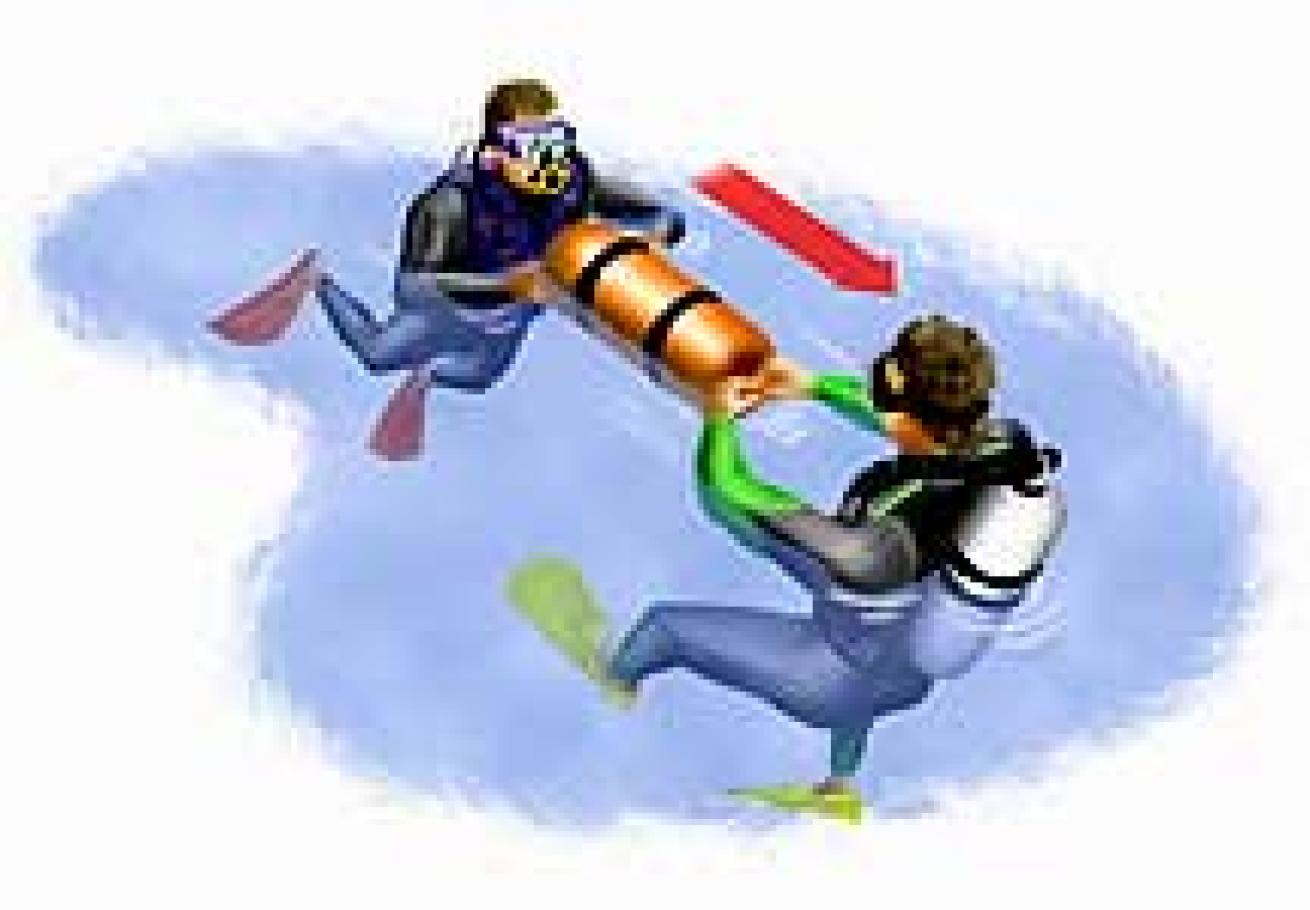
This one is good with a panicky victim. While he holds one end of a long piece of equipment, you hold the other. Lie on your back as in the tank tow and pull him. The separation allows you to get away if the victim attempts to climb on top of you. The victim will probably turn onto his stomach to accept this tow, and most BCs will not keep his face clear of the water. He will have to hold his head up, or breathe through his regulator or snorkel.
Seven Deadly Sins: Common Causes of Scuba Deaths
Heart Attacks. According to the Divers Alert Network, cardiovascular problems are the single largest cause of drowning among divers. Stress and exhaustion are likely triggers.
Exhaustion. Typically, the diver finds himself fighting a stronger current than he expected. He becomes physically weak and unable to help himself effectively.
Low On Air. A diver demands more air than his regulator can supply. The problem can be complicated by low tank pressure, extreme depths and poor regulator performance.
Entanglement or entrapment. Entanglement in kelp is most common but rarely dangerous. Monofilament fishing line, however, is difficult to see and impossible to break with your hands. Entrapment includes divers who become lost in caves and wrecks.
Out of control ascent. Buoyancy control problems leading to rapid, uncontrolled ascents can cause divers to embolize and drown.
Panic on the surface. Divers have drowned at the surface because in panic they forgot to dump weights, inflate BCs or even let go of heavy game bags.
Equipment failure. Major failures are rare. More often, a series of minor problems like broken straps and leaking masks adds to other sources of stress, leading to panic and loss of control.
The Panic Factor
One of the biggest dangers in any rescue is panic. The surge of fear turns small problems into big ones, and soon even a competent diver can lose the ability to think rationally and cooperate in his own rescue.
What causes panic? Panic is often the result of a series of physical and mental stresses--including fatigue, cold, task overloading, equipment problems and low visibility--that accumulate to the point that a diver feels overwhelmed.
How to stop it. Panic is like a runaway horse: it's hard to stop once it's out of the barn. Instead, intervene before it hits. Look for these signs of stress:
Before the dive: Nervousness, talking too much, silence, gallows humor, irritation, repeated "dumb" mistakes and stalling may be signs of stress.
In the water: A common sign of stress is "contact maintenance," a reluctance to leave the anchor line or the surface or your side. Others obsessively check gauges, constantly hold the BC inflator and assume a head-up rather than prone position. A steady stream of exhaust bubbles indicates rapid shallow breathing, another sign of stress.
If you see these signs, stop. Check the diver's air supply to reassure him that he has plenty of air. Take a few, slow, deep breaths. If you can't reduce the stress (by fixing an equipment problem, for example), abort the dive.
When panic takes hold. Under water, the panicked victim is likely to lunge for the surface. If you can't grab a leg and slow him down, follow at a safe ascent rate and be prepared to help him on the surface. If the victim panics on the surface, keep your distance until he exhausts himself. If the victim moves toward you, back away in the direction of the boat or beach. That way he's moving toward safety.
We are fortunate to enjoy a sport with one of the lowest accident rates around, but let's face facts--the inherent risks of diving mean dive accidents are often serious. And when things go south, they go south fast. A quick, cool and effective response is often the difference between a close call and serious injury or worse.
Which raises the question: How prepared are you to handle a dive emergency? What about your buddy?
There are no cookie-cutter solutions to all possible situations. It's important to act quickly, but even more important to think clearly before acting. Here are five fundamental steps every diver should know.
Get Rescue-Certified
Rodale's Scuba Diving, along with most major training agencies, recommends rescue certification as an essential course for every serious diver. Only by mastering a rescue course can divers be fully equipped to recognize, prevent and deal with accidents.
What You'll Learn. The course will cover the rescue techniques discussed here and many more, including subjects like giving oxygen and managing an accident scene. More important, it will give you in-water practice rescuing simulated "victims," so you'll have a chance to internalize your lessons. In a real emergency, you're more likely to remember what you've done than what you've read.
What's Required. Prerequisites vary, but often you'll be required to take a CPR course before or concurrently with your rescue course. Some agencies require an advanced open water rating before taking the rescue course, others do not.
What It's Worth. Beyond learning specific rescue techniques, you'll become more attuned to the signs of stress in other divers and gain confidence in your ability not only to rescue others, but to rescue yourself.
Step 1: Get Air
Make sure the victim has a secure air supply. If the victim can't breathe, brain damage will probably occur within six to 10 minutes. Less obvious is the need to prevent panic. Says SSI's Director of Training Dennis Pulley, "No matter who you are or how long you've been diving, if you don't have an air supply panic is going to set in. It's human nature." Once the victim's air supply is secure, both of you should take a minute to breathe and calm down.
Maintaining the victim's air supply remains the most crucial step now and throughout the rescue. Don't become so absorbed in the subsequent steps, like signaling for help and towing, that you forget to guard his airway from splashing and submerging.
Effective Techniques
Under water, locate your alternate air source as you approach the victim and be prepared to offer it or the primary, whichever you prefer. If his air supply is not the problem, you can go on to Step Two having prevented the major source of panic.
On the surface, roll the victim on his back with his head tilted back, to keep his airway open.
Potential Problems
You see a diver lying on the bottom, apparently not breathing. What do you do? If his regulator is still in his mouth, hold it there with your hand. If it's not, don't waste time fumbling with it. It's more important to get to the surface quickly.
If you see a diver under water without an air source and in panic, the good news is that he's conscious and able to breathe. The danger is that he may grab your air supply. Approach the victim with the air source you're going to pass held in front of you so it's the first thing he can grab. If he ignores the one offered and still grabs your primary, your alternate source is in your hand ready for you to use.
Step 2: Get to the Surface
Get the victim to the surface immediately. But don't forget the risks of ascending too quickly. You don't want to complicate a near drowning with a double embolism.
How fast you ascend depends on the circumstances. In a straightforward low-air emergency, ascend at a normal rate. Just be sure you have enough air for both divers. But if the victim is unconscious, ascend with him as fast as you dare while remembering to keep your airway open.
Effective Techniques
Get the victim neutral or slightly buoyant. Get neutral yourself, then use the victim's BC to lift both of you. That way, if you have to let go, he will continue to ascend. Conserve your energy by using his buoyancy to ascend rather than finning.
Maintain contact by holding his armpit or his BC, and watch that he continues to breathe. If he's panicky, hold him from behind by the tank where you can inflate or vent his BC and, if necessary, keep his regulator in his mouth.
Keeping his head upright may help expanding air vent naturally if he's unconscious.
Drop his weights only if you need to--for example, because he's seriously overweighted or his BC won't inflate. Otherwise, dropping his weights will make the ascent rate difficult to control.
Keep your own weights. That way you can sink beneath him if he makes a panicky grab for you. Or, if you lose control, you can still become neutral.
Potential Problems
You are helping a victim ascend when he stops making bubbles, indicating he has stopped breathing. What do you do? You have to balance the risks of embolism and oxygen starvation. Is he holding his breath because of panic, or is he unconscious? One clue: is he struggling for the surface or limp? If panic causes him to hold his breath, he is physically able to breathe. Try to slow or stop the ascent by flaring while you hold on. Very soon he'll have to take another breath. If he's unconscious, however, it's critical to get him to the surface quickly. In this case, it may be best to drop his weights, inflate his BC and send him up alone while you follow at a safer rate.
Your buddy suddenly bolts for the surface. What do you do? If you can immediately grab his leg or his BC you may be able to flare while holding on and slow him enough to prevent embolism or DCS. Otherwise, let him go and follow at a safe ascent rate. Your first duty is to stay healthy yourself so you can help him at the surface.
Step 3: Get Buoyant
Once you reach the surface, establish positive buoyancy for the victim. Be ready to help him put more air into his BC and dump his weights. Obviously, it's time to drop the game bag and the brass porthole, too.
Effective Techniques
- Roll him onto his back with his head tilted back. This gets his face as high as possible so water is less likely to splash into his airway. It also allows him to rest without treading water.
Potential Problems
- A panicky diver on the surface flails the water wildly with his arms as if trying to climb out of the water. What do you do? He is likely to climb on you to get out of the water. Keep your distance and use your voice to try to calm him. Anxiety is contagious, so speak slowly and calmly: "It's OK, I can help you. Inflate your BC. Drop your weights." Encourage him to breathe through his regulator.
If he fails to respond and is swallowing water, you may have to drop his weights for him. Submerge, and approach him from below. He will be less likely to interfere.
- A diver on the surface is not breathing. What do you do? Mouth-to-mouth is very difficult to perform in the water. Whether you attempt it depends on how often you've practiced it and how long it will take to get the victim out of the water. If the boat, or the shore, is more than a few minutes away, at least try giving two rescue breaths. Roll the victim's head toward you instead of trying to climb on top of him. Let some air out of both BCs. Too much air will make it harder to get your mouth in the right position.
Step 4: Get Help
Before starting to swim for the dive boat or the shore, take a few seconds to attract help. The dive boat or its dinghy may be able to come to you, or another swimmer may meet you halfway to help with the tow. Meanwhile, others can be setting up the first-aid and oxygen kits.
Effective Techniques
- Blow a whistle or a horn, shout, inflate your sausage, wave a fin. As soon as you've attracted attention, proceed to Step Five.
Step 5: Get Out
Get the victim out of the water. You will need to get the victim to the boat or the beach to perform any effective first aid. CPR, for example, cannot be performed in the water. That probably means towing the victim, either by pushing or pulling, though he may be able to help.
Effective Techniques
Tell the victim what you're going to do ("I'm going to help you swim back to the boat"). Start propelling the victim by the method that seems best under the circumstances. This will be slow and tiring, so pace yourself. If you become exhausted and require rescue yourself, that will increase the danger to the victim.
Keep an eye on the victim's air supply. If he's breathing through his regulator, make sure that it stays in his mouth and that he has enough air. If he's breathing without a regulator or snorkel, make sure he's not taking water into his mouth.
Potential Problems
What if the beach is much closer than the dive boat? The beach may be a better bet, especially if the victim needs CPR immediately. You can begin CPR there while other divers bring first-aid equipment from the dive boat. But if there's any surf or rocks, it may be difficult to get the victim ashore safely.
How do you lift an unconscious or helpless victim onto the dive boat? This can be very difficult, even for several people. It can be hard to grab him when his arms are limp. Divers are often told to dump all the victim's gear at this point to make him lighter. But the tank valve and BC offer convenient handholds. If there are two or more strong helpers on the boat, it may be best to leave the victim's BC on. In any case, remember to guard the victim's airway while getting ready to lift him from the water.
Towing the Victim
In all cases, the victim should be on his back with lots of buoyancy to keep his face out of the water. Drop accessories that will cause drag.
||| |---|---|
|<
table>

|
Also called an underarm tow because you grab his biceps or underarm. You'll turn partly on your side facing him, and you may have to use a scissors kick, which is not very efficient. But you'll be able to see his face and monitor his airway. And the physical contact is often calming.
|| |---|
|
Also called a "modified tired swimmer tow." Lying on your stomach, you put the victim's fins on your shoulders and grab his knees to stiffen his legs. This allows you to watch his face, see where you're going and use a normal kick. Over a long distance, it is more efficient than the side-by-side tow.
|| |---|
|
Lying on your back behind the victim, grab his tank valve or his BC and kick normally. Your kick will be strong and efficient if you can avoid hitting the victim with your fins. The disadvantage is that you can't simultaneously maintain eye contact with him and see where you're going.
|| |---|
|
This one is good with a panicky victim. While he holds one end of a long piece of equipment, you hold the other. Lie on your back as in the tank tow and pull him. The separation allows you to get away if the victim attempts to climb on top of you. The victim will probably turn onto his stomach to accept this tow, and most BCs will not keep his face clear of the water. He will have to hold his head up, or breathe through his regulator or snorkel.
Seven Deadly Sins: Common Causes of Scuba Deaths
Heart Attacks. According to the Divers Alert Network, cardiovascular problems are the single largest cause of drowning among divers. Stress and exhaustion are likely triggers.
Exhaustion. Typically, the diver finds himself fighting a stronger current than he expected. He becomes physically weak and unable to help himself effectively.
Low On Air. A diver demands more air than his regulator can supply. The problem can be complicated by low tank pressure, extreme depths and poor regulator performance.
Entanglement or entrapment. Entanglement in kelp is most common but rarely dangerous. Monofilament fishing line, however, is difficult to see and impossible to break with your hands. Entrapment includes divers who become lost in caves and wrecks.
Out of control ascent. Buoyancy control problems leading to rapid, uncontrolled ascents can cause divers to embolize and drown.
Panic on the surface. Divers have drowned at the surface because in panic they forgot to dump weights, inflate BCs or even let go of heavy game bags.
Equipment failure. Major failures are rare. More often, a series of minor problems like broken straps and leaking masks adds to other sources of stress, leading to panic and loss of control.
The Panic Factor
One of the biggest dangers in any rescue is panic. The surge of fear turns small problems into big ones, and soon even a competent diver can lose the ability to think rationally and cooperate in his own rescue.
What causes panic? Panic is often the result of a series of physical and mental stresses--including fatigue, cold, task overloading, equipment problems and low visibility--that accumulate to the point that a diver feels overwhelmed.
How to stop it. Panic is like a runaway horse: it's hard to stop once it's out of the barn. Instead, intervene before it hits. Look for these signs of stress:
Before the dive: Nervousness, talking too much, silence, gallows humor, irritation, repeated "dumb" mistakes and stalling may be signs of stress.
In the water: A common sign of stress is "contact maintenance," a reluctance to leave the anchor line or the surface or your side. Others obsessively check gauges, constantly hold the BC inflator and assume a head-up rather than prone position. A steady stream of exhaust bubbles indicates rapid shallow breathing, another sign of stress.
If you see these signs, stop. Check the diver's air supply to reassure him that he has plenty of air. Take a few, slow, deep breaths. If you can't reduce the stress (by fixing an equipment problem, for example), abort the dive.
When panic takes hold. Under water, the panicked victim is likely to lunge for the surface. If you can't grab a leg and slow him down, follow at a safe ascent rate and be prepared to help him on the surface. If the victim panics on the surface, keep your distance until he exhausts himself. If the victim moves toward you, back away in the direction of the boat or beach. That way he's moving toward safety.


