
Underwater Action
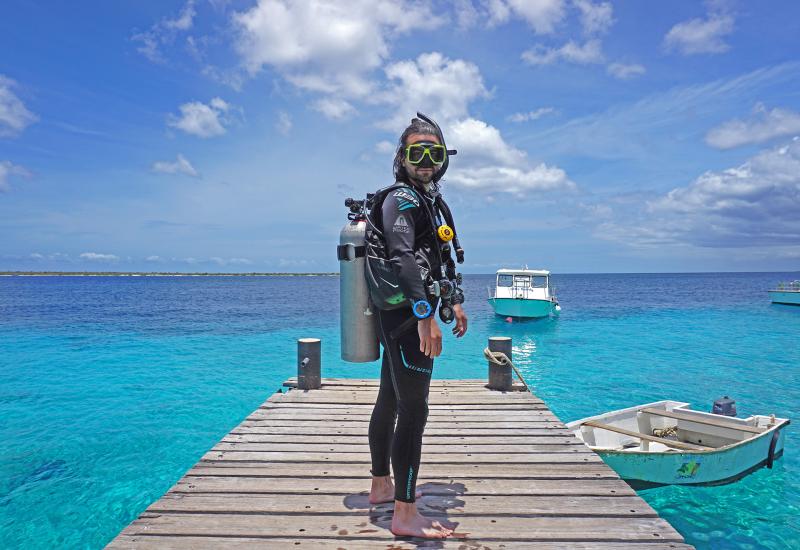
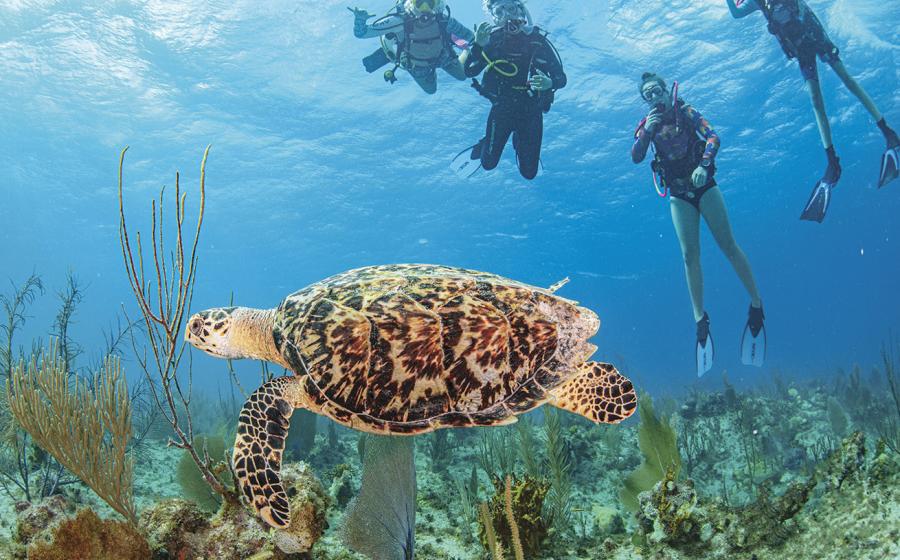
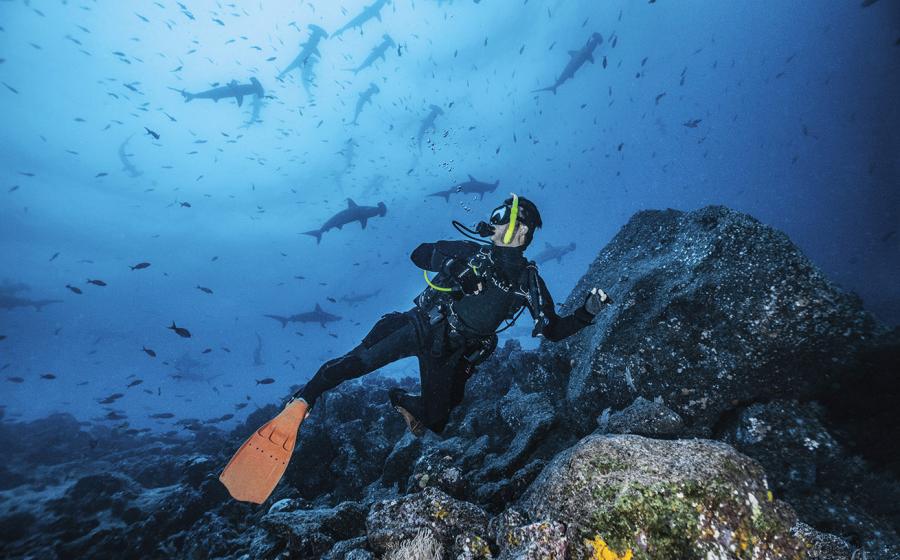
Scuba diving is a totally cool sport. That makes you kinda cool, too. You know what I'm talking about. But how about your coworkers and neighbors? Do they have any idea of the fun you have, as Ringo says, ''In an octopus' garden in the shade?''Sure, you can tell shark tales and fish stories or even put one of those bumper stickers on your car that says something about how deep divers go. However, the best way to communicate the fun and excitement of diving is with pictures - of divers in action.So, here is my list of top 10 tips to get good diver shots. Check them out, and then practice in a pool before you plunge into the ocean, lake or quarry. You might also want to clip this list out and take it on your next dive trip. That way, if the local photo pro is busy, you can share these tips with a dive buddy - who may get perhaps the most prized underwater picture of all: a picture of you in action!1. PLAN YOUR SHOOT AND SHOOT YOUR PLAN: Before going underwater, make a plan and develop a set of simple hand signals so you can communicate directions (up, down, left, right, look away, look toward me, etc.) to your subject.2. CARE FOR THE REEF: Touch or bump into the reef and I'll be mad at you. Worse than that, you'll wipe off some of the protective mucus covering that protects the corals from lethal infections.3. CAPTURE AN ACTIVITY: Nothing looks quite as silly as a diver, regulator bulging in his or her mouth, looking directly at the camera and waving. Your best bet is to photograph your subject involved in an activity, such as fish-watching, taking underwater pictures, cleaning up a reef, taking notes on an underwater writing pad, mapping a shipwreck, etc.4. GO WIDE: Wide-angle lenses (20-mm, 15-mm, 12-mm and 13-mm) let you get close to your subject, therefore reducing the amount of water (which is 800 times denser than air and filled with lots of grainy stuff) between you and your subject. The closer you are, the sharper your pictures will be.5. AIM CAREFULLY: Subjects appear closer underwater than they are, due to refraction. Therefore, when aiming your strobe (if you don't have an aiming or target light), direct it slightly behind where you think your subject is positioned. This technique should shed the maximum amount of light on your subject. To ensure that you light the front side of the diver, try varying your strobe position from shot to shot. 6. GO NATURAL: Silhouettes can be just as pleasing as pictures taken with two high-powered strobes. Plus, they capture the feeling of being at one with nature.7. BEWARE OF THE BACKGROUND: The background can make or break a diver picture, especially if another diver's fin or piece of staghorn coral is ''sticking out of'' your subject's ear. In most cases, the clear blue sea is the best background for a diver photo.8. SHOOT UP: Pictures taken with a diver in the foreground and the water's surface in the background truly create a sense of ''being there.'' If possible, try to get slightly beneath your subject and shoot up. But please remember to watch the reef!9. WATCH THE DETAILS: All topside professional photographers scan a scene for details - small objects that can ruin a picture, like a gum wrapper in a landscape or an out-of-place strand of hair on a fashion model. Underwater pro shooters think the same way, and so should you. Look for small, shiny fish that may look like a big white spot in a photo when your strobe goes off. Make sure bubbles are not covering your subject's face. Check out the scene thoroughly before you shoot.10. GIVE A GIFT: OK, so you have a great shot of your buddy, spouse or chef on your live-aboard or soul mate. What better way to say thanks than to give a photo as a gift. Sure, straight prints are cool. But for under $50, you can get a digital darkroom program that can turn your straight shot into a work of art - softening details and creating impressionist effects. After all, true art is in nature, and there is an artist in all of us.Silhouette StrategyFor eye-catching silhouettes, set your camera on automatic, select a small f-stop (f/8 or smaller) and shoot. Also, you'll get the most dramatic results if you position your subject directly between you and the sun. To ensure a good exposure when shooting slide film, take additional exposures one stop over and one stop under the recommended exposure setting. The easiest way to do this is to vary the ISO speed. For example, when using ISO 100 film, take an exposure with the ISO set at 100, then 50, then 200. Be sure to reset your ISO dial back to its original setting.For information on taking an underwater photography course from your local PADI Resort or Dive Operator, go to www.PADI.com.